Category Archives: Visual Studio

Remove obsolete nuget package references

To get rid of deprecated nuget packages in your solution follow the procedure below.

In Visual Studio first manage the nuget packages for your project (or solution) by right clicking the project in the solution explorer and choose Manage NuGet Packages…

Then the deprecated packages will show up in the list:

To remove those packages you have to remove them from the project file (or do an uninstall with the nuget package manager). I prefer to do this in the project file. So open the project file and remove the package entry (marked lines in the image below).

Now you have to add the FrameworkReference item to the project file. See the project file below and checkout the marked lines.

Check also this link for a more verbose explanation.

Share

Add StyleCop to your Visual Studio build

Add a file called Directory.Build.Props to your solution with the contents below.

<Project>
	<PropertyGroup>
		<TargetFramework>net7.0</TargetFramework>
	</PropertyGroup>

	<ItemGroup>
		<PackageReference Include="StyleCop.Analyzers" version="1.2.0-beta.435">
			<PrivateAssets>all</PrivateAssets>
			<IncludeAssets>runtime; build; native; contentfiles; analyzers; buildtransitive</IncludeAssets>
		</PackageReference>
	</ItemGroup>
</Project>

Also add a .editorconfig to your solution to configure your code styling. The StyleCop analyzer and the .editorconfig file play together to configure your build process.

Share

Synology Docker MariaDb / .NET Core 6 / Homewizzard Electrical meter reading

HomeWizard P1 meter

Recently I came across a small device that can be connected to the Smart Energy Meter as it is used in the Netherlands, among other places:

HomeWizard.nl

This small device is connected to the P1 port of the smart meter. The HomeWizzard is then connected to the WiFi network.

The HomeWizzard device publishes a REST api at this endpoint https://[your-homewizzard-device-ip]/api/v1/data.

Continue reading
Share

Test a WCF service with SOAPUI

With help of SOAP UI you can easily test your webservices. In this pos tI’m going to test a WCF web service (yes MS WCF; not my favourite company and technology but anyway….)

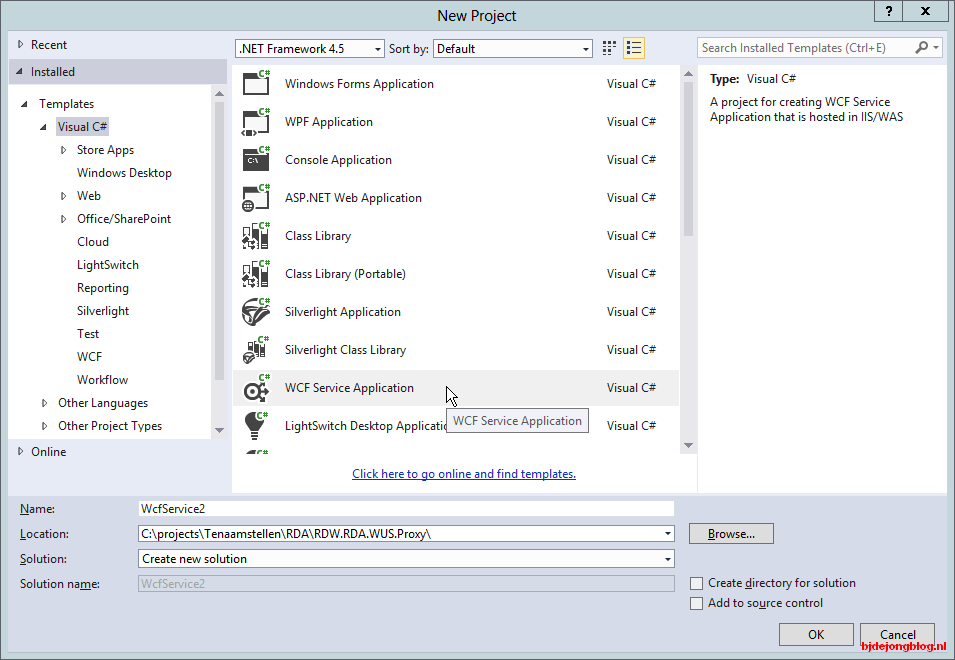
First create your webservice. Within Visual Studio goto File -> New Project . Choose Visual C# and select WCF Service Application

Create new project

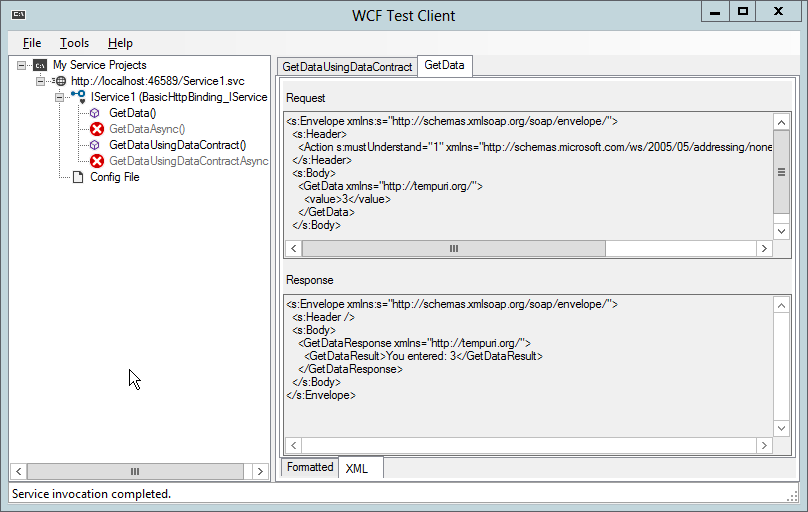
Now start your project by pressing F5; the service, together with the WCF Test Client, will start and there are two methods available on this service:

GetData and GetDataUsingDataContract

The WCF Test client

Play around with the WCF Test Client to get the idea of how this works. Next we will install SOAP UI. Download your copy here. Install SOAP UI using the default settings.

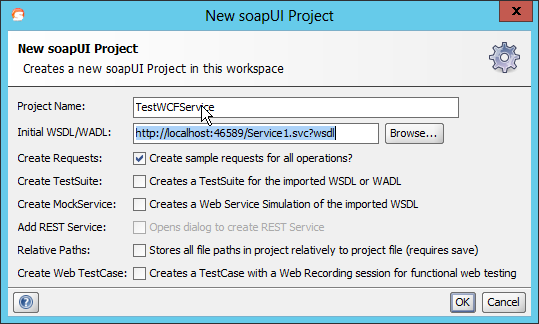
After installation start SOAP UI and create a new project. Goto File -> New soapui Project . Fill out the dialog as shown below (don’t forget to add the ?wsdl ):

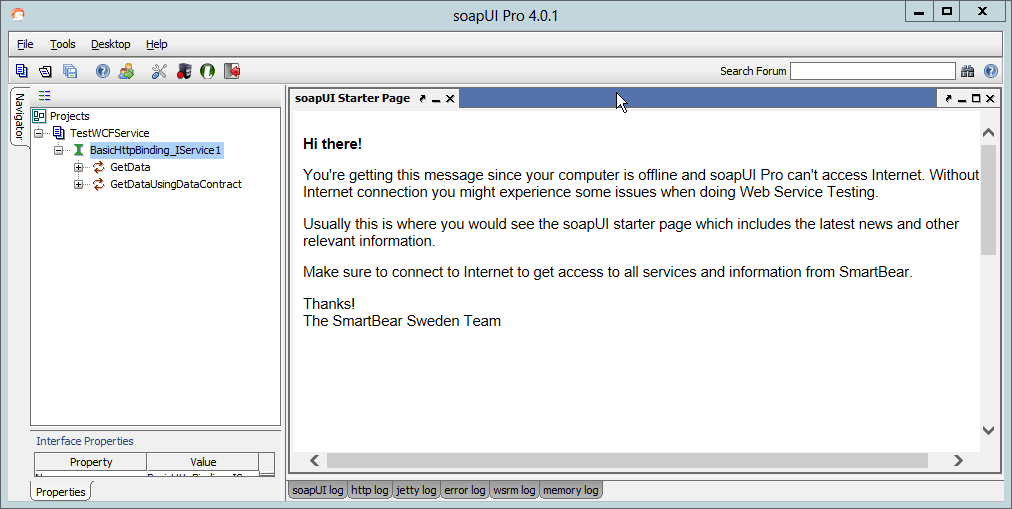
 Press Ok; a new soapui project will be created. See the image below:

Now you can execute the same request as the WCF Test Client did; but there is more; much more!

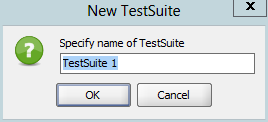
Right click on the WCFTestService1 and choose New TestSuite.

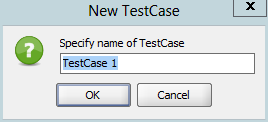
Press OK. Right click on TestSuite 1 and choose New TestCase:

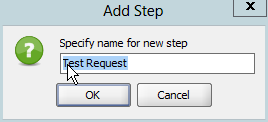
Press OK. Right click on Test Steps choose Add step and then Test request.

Press OK. Choose the operation you want to test:

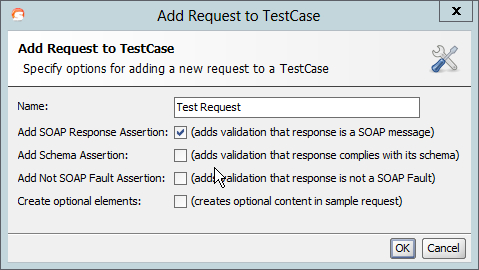
Press OK. On the next screen leave things as suggested

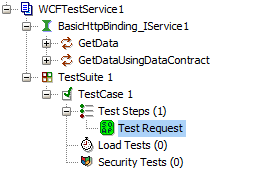
Press OK. Your first test request is added to the TestCase.  By double clicking the TestCase 1 item and pressing the play button the test will be excuted. As you expected the test will succeed and a green icon is shown right before the test request entry:

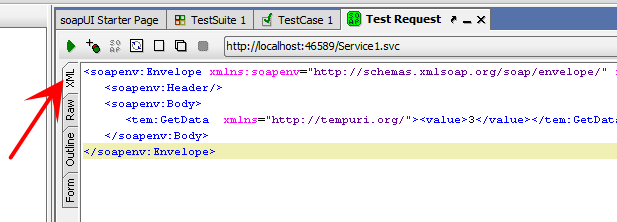
Now lets add some testdata to the request. Place the following XML in the test request XML window. First select the xml view:

Now paste the XML below into the request:

<soapenv:Envelope xmlns:soapenv="http://schemas.xmlsoap.org/soap/envelope/" xmlns:tem="http://tempuri.org/">
<soapenv:Header/>
<soapenv:Body>
<tem:GetData xmlns="http://tempuri.org/"><value>3</value></tem:GetData>
</soapenv:Body>
</soapenv:Envelope>

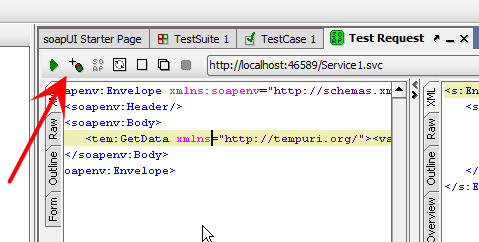
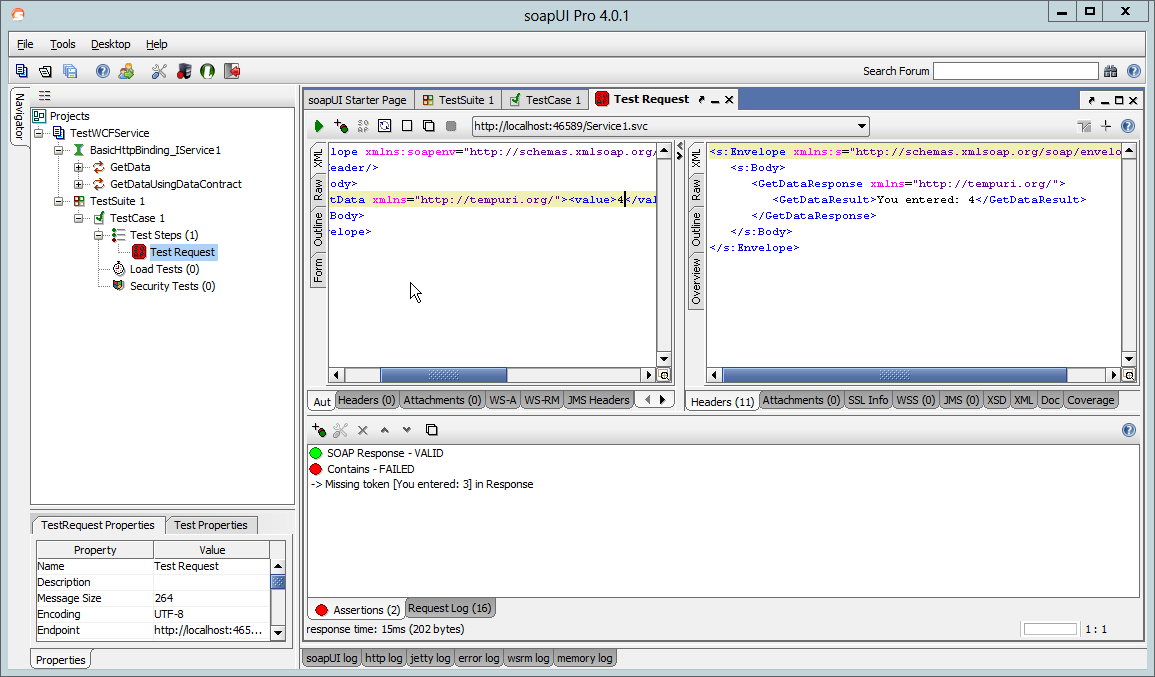
Now you can add assertions to your test script to make sure the operations works the way you want. For example lets assert that the GetDataResult field contains the text “You entered: 3”. Press the plus sign next to the play button:

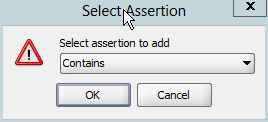
Select the SOAP response assertion:

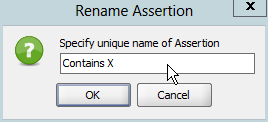
Give the assertiona unique name:

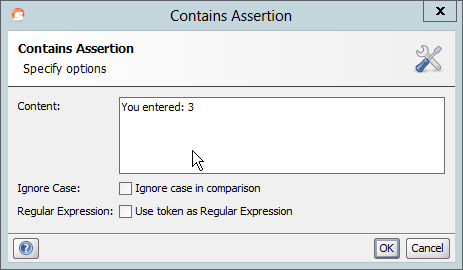
Type the text you want to look for in the response.

Now if you execute the request it will still succeed because the request contains the number three. Change this number to, for example 4, and you will see that the assertion fails.

Share

Working with Visual Studio 2010 and github on Synology

gitInstall the “GIT server”  package on your Synology Disk Station. Goto the package center and search for the “Git Server” package. Download and install it.

Install GitExtensions on your dev box.

Install the latest msysgit on your dev box.

Install the “Git Source Control Provider”  Visual Studio 2010 extension on your dev box. In Visual Studio goto Tools -> Extensions and search for “Git Source Control Provider” in the online gallery.

Now SSH to your Synology (either with putty or with a Linux terminal) and execute the following commands:

cd /volume1/
mkdir git
cd git
mkdir repo1.git
cd repo1.git
git --bare init
cd ..
chown -R johndoe:users repo1.git

This will create a so called “bare git” repository. A bare git repository can be used as a central repository to which you push your local repositories.

Ok; now there is a GIT repository created on your Synology. Next create a new Visual Studio solution. Right click the solution name and select “Create Git Repository”. This will add an .git folder to your solution directory and now your solution is in a local Git repository.

Next commit your new solution to the Git repository.Select all files; type your comment and hit “Commit”.

Now push your local repository to the central bare git repository you created earlier. Right click the solution name; choose Git (master) -> Push. The checklist for Git settings will show up if not all settings are valid. For now just click Ok. The Push dialog appears. Specify the remote name; for example: ssh://johndoe@10.0.0.1/volume1/repo1.git

Some useful GIT commands
In Visual Studio goto GIT -> GIT bash; a Bash command prompt will start.
Show available tags:

git tag

Create a tag in the GIT bash:

git tag -a v1.0.2 -m "The new version"

Commit your changes with a message:

git commit -m "Your message / comment"

Push the tag information:

git push --tag

Delete a tag:

git tag -d name_of_the_tag

GIT Use Case

Create bare repo on diskstation

git init --bare repo.git

On a client clone (initialise) a repository from the dskstation:

git clone ssh://git@diskstation.local/volume1/git/repo.git

[Remote “origin”] can be found in .git/config file; you could add an alias for convenience. A directory repo will be created that contains your files. Add files to your repo directory

Add them to the local stage:

git add file.txt

Commit them to the local repo:

git commit -m "Your comment"

Push them to the server repo:

git push origin master

A new branch master will be created. From now on you can use git push (without the origin master)

Share
Synology

Subversion installation on your Synology DiskStation

subversionOn the SynologyWiki is an excellent article about installing Subversion on to your synology diskstation. Is is a step by step guide describing all the details for installing subversion on your diskstation.

Integrate Subversion and Visual Studio

You can also integrate SVN with your visual studio environment (almost like TFS). With the software from ankhSVN, for example, you can perfectly integrate SVN and Visual Studio (2008).

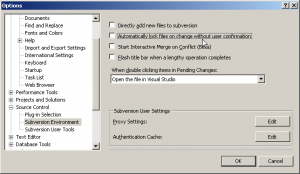
Use the Options window to configure the ankhSVN plugin:
image001
The file “app.config” is checked out; other files are also under version control

image002

View all of your pending changes.
image003

All other regular source control options, like banching and merging, labeling, shelving etcetera are all available.

Share