WCF and Messagequeue – MSMQ
First let us understand why MSMQ (Messagequeue) came in to picture and then rest will follow. Let us take a scenario where your client needs to upload data to a central server. If everything will works fine and the server is available 24 hours to client then there are no issues. In case the server is not available, the clients will fail and the data will not be delivered. There is where MSMQ comes in to picture. It eliminates the need of persistent connection to a server. Therefore, what you do is deploy a MSMQ server and let the clients post message to this MSMQ server. When your actual server runs, it just picks up the message from the queue. In short, neither the client nor the server needs to be up and running on the same time. In WCF we have a client and service model and in real world it is very much practical possible that both the entities will not be available at one time.

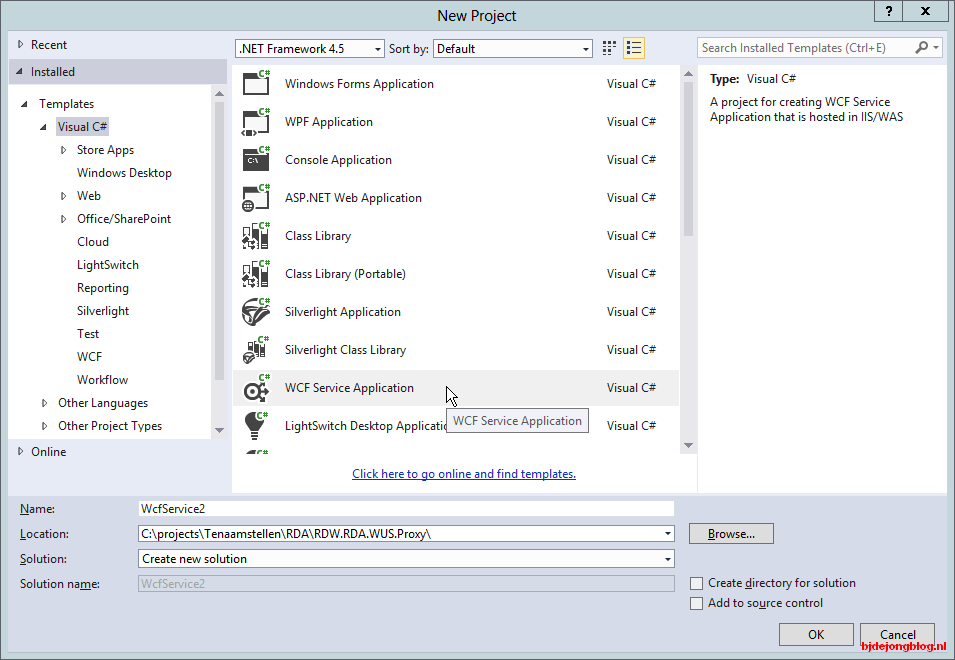
In order to use MSMQ you need to install the Message queuing by click on Install windows component and selecting MSMQ queuing. Once that done we are all set to make our sample of MSMQ using WCF.After you installed MSMQ you setup the Visual Studio C# solution. Create a new solution called “WCFMSMQ”. Add a new console application called “ServiceApp” and add a windows forms application called “WinClientApp”.
After this your solution should look like this:

Now we have to fill in the code for the projects. Start with the ServiceApp. Add a reference to the System.ServiceModel assembly.

Add a new class called IMSMQService and code the following interface:
|
1
2
3
4
5
6
7
8
9
10
11
|
namespace MSQMService
{
using System.ServiceModel;
[ServiceContract]
public interface IMSMQService
{
[OperationContract(IsOneWay=true)]
void SendMessage(string s);
}
}
|
Add a new class called MSMQService and code the following implementation:
|
1
2
3
4
5
6
7
8
9
10
11
12
|
namespace MSQMService
{
using System;
public class MSMQService : IMSMQService
{
public void SendMessage(string s)
{
Console.WriteLine(string.Format("Received: {0}", s));
}
}
}
|
Add a new application configuration file and adjust it to look like this:
|
1
|
<!--l version="1.0" encoding="utf-8"-->
|
Open (the default generated) program.cs and adjust to look like this:
|
1
2
3
4
5
6
7
8
9
10
11
12
13
14
15
16
17
18
19
20
21
22
23
24
|
namespace ServiceApp
{
using System;
using System.Messaging;
using System.ServiceModel;
class Program
{
static void Main(string[] args)
{
string queueName = ".\Private$\MyQueue";
if (!MessageQueue.Exists(queueName))
{
MessageQueue.Create(queueName, true);
}
ServiceHost host = new ServiceHost(typeof(MSMQService.MSMQService),
host.Open();
Console.WriteLine("Service started.");
Console.ReadLine();
}
}
}
|
The code above will create a Message queue (add a reference to the assembly System.Messaging) and start a new service host. The localhost url is only used for the svcutil so it can retrieve the service definition.
The service name (MSMQService.MSMQService) points to the implementing class (fully qualified name; ie namespace.class). The contract part of the endpoint (MSMQService.IMSMQService) points to the interface that defines this service.
The binding part (netMsqmBinding) points to one of the many default bindings. The bindingConfiguration (MyMsmqBindingConfig) points to the binding definition below the services section.
Ok; now the service part is ready. Try start the service and fix any errors you encounter.
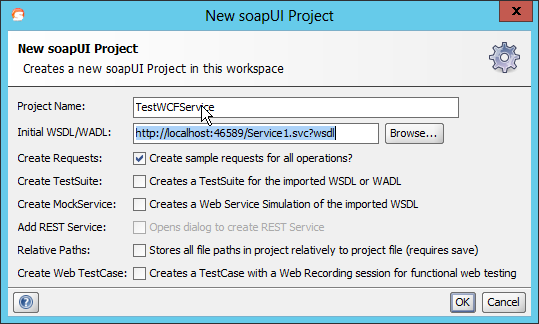
Next we will start with the client. The client needs to know how to communicate with the server. It needs to know what interfaces are defined and which endpoints to use. To determine such information we can use the svcutil application. Start a command prompt and enter svcutil http://localhost:8000/ServiceMSMQ/service
This will generate two files; a “output.config” and a “MSMQService.cs” file. Rename the “output.config” to “app.config” and include these two files in the “WinClientApp” project.
Rename the “Form1.cs” to “FrmMain.cs” (optional but is best practice..). Add a label, a textbox and a button to the form. Make it look like this:

Add a field to the FrmMain class:
|
1
|
MSMQServiceClient client = new MSMQServiceClient();
|
Add an eventhandler to the Send button and code the following:
|
1
2
3
4
|
if (!string.IsNullOrEmpty(textBox1.Text))
{
client.SendMessage(textBox1.Text);
}
|
Change the startup projects for the solution so that both projects are started when you hit F5:

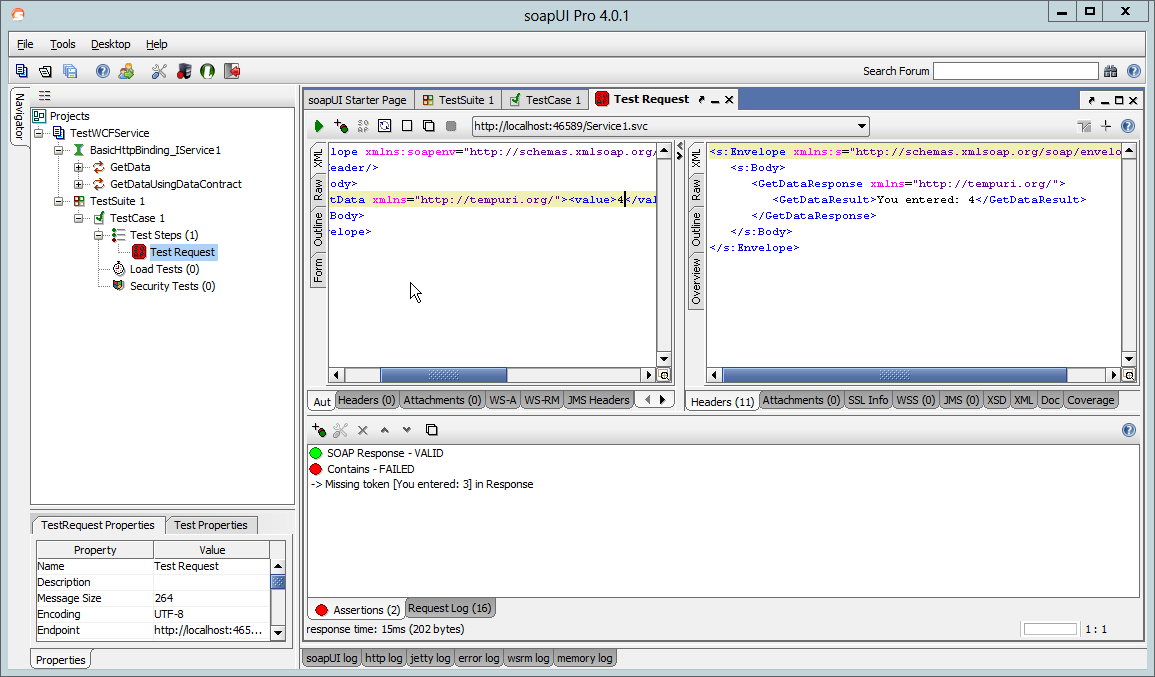
Now start the project and send messages to the server. As you can see when you hit send (with something filled in in the textbox) the service displays your message.
Stop the service; keep the client running. Again send some messages to the server; nothing happens; you will not even get an error message indicating that the server is down. This is because messages are now stored on the private queue MyQueue.
You can check this by starting Computer management (right click on computer and choose manage); then navigate to Services and applications -> Message queuing ->Private Queues –> MyQueue

Once you start the server again it will read all messages from the queue and process them one after each other.
Download the sourcecode for this article here.