HomeWizard P1 meter
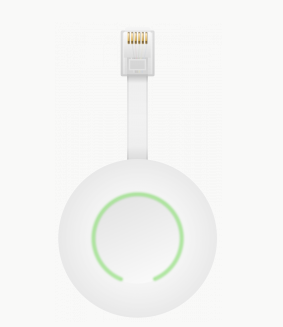
Recently I came across a small device that can be connected to the Smart Energy Meter as it is used in the Netherlands, among other places:
This small device is connected to the P1 port of the smart meter. The HomeWizzard is then connected to the WiFi network.
The HomeWizzard device publishes a REST api at this endpoint https://[your-homewizzard-device-ip]/api/v1/data.
The specification of this API can be found here.
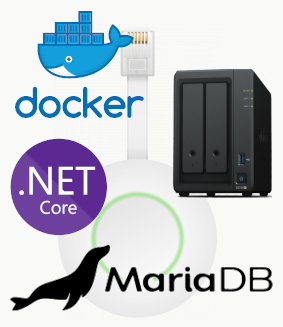
In this post we are going to write a little console program that reads data from the HomeWizard API and stores this data in a MariaDB database.
I’m using Docker on a Synology NAS (DS216+). That way I can make use of the .NET Core 6 framework and all its great libraries. In this post I use Docker on a Synology NAS but docker is also available on a lot of other NAS brands.
Install Docker on your Synology NAS
Log into the NAS and install the Docker package with help of the Package Center that comes with DSM.
From this point on we are going to work in a ssh shell on the NAS so be sure to enable the ssh service on the NAS (goto Control panel -> Terminal & SNMP: Enable SSH service).
Create MariaDB container
Open a command prompt on your client computer and ssh to the NAS
# Log into your synology
ssh username@synology.local
First create the host folder that will hold our MariaDB database.
# Create folder to hold the mysql database(s)
mkdir -p /volume1/docker/data/homewizard/mysql-data/
Then we create the MariaDB container. The latest image will be downloaded if not already locally available. Next we will start the Docker container and check the logs for any errors.
# Create mariadb container from latest image with data directory on the host
# (use single quotes for env to prevent history expansion in bash)
docker create -v /volume1/docker/data/homewizard/mysql-data/:/var/lib/mysql --env='MARIADB_ROOT_PASSWORD=**********' --name mariadb --network=bridge -p3306:3306 mariadb

Check if the container is created
docker ps -a

Start the container
docker start mariadb
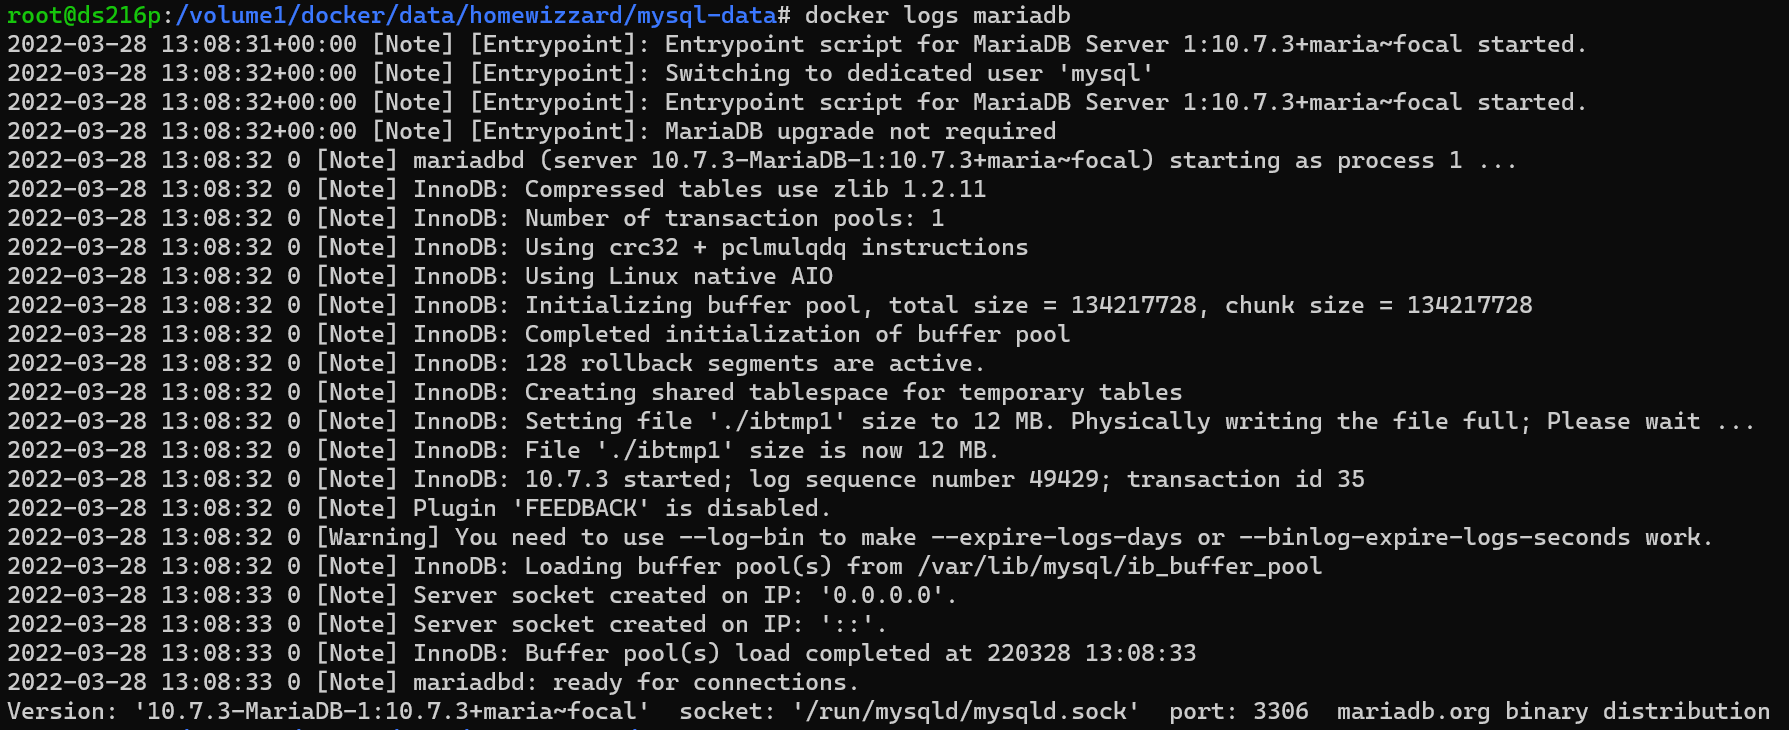
Check the container log
docker logs mariadb
Configure Docker container timezone
We want our container to use the local timezone; not the UTC timezone. The default setting for the docker containers is to use the timezone info from /etc/localtime. Change this link to the timezone you are in, for me it is Europe/Amsterdam
mv /etc/localtime /etc/localtime-old
ln -s /usr/share/zoneinfo/Europe/Amsterdam /etc/localtime
Now when you ask linux what time it is it will respond in the localtime
root@4d07a4c538ef:/app# date
Thu Mar 31 15:09:38 CEST 2022
Now test the connection to your MariaDB container with, for example, the MySQL Workbench.
MariaDB is configured to use the SYSTEM timezone. If you have just changed the timezone you need to start and stop the linux container for changes to take effect (it is not enough to restart the MariaDB server).
To check if MariaDB uses the correct timezone execute the query below; MariaDB should show the localtime.
MariaDB [homewizzard]> select now();
+---------------------+
| now()               |
+---------------------+
| 2022-03-31 15:10:28 |
+---------------------+
1 row in set (0.001 sec)

MariaDB [homewizzard]>
Create .NET Core 6 solution
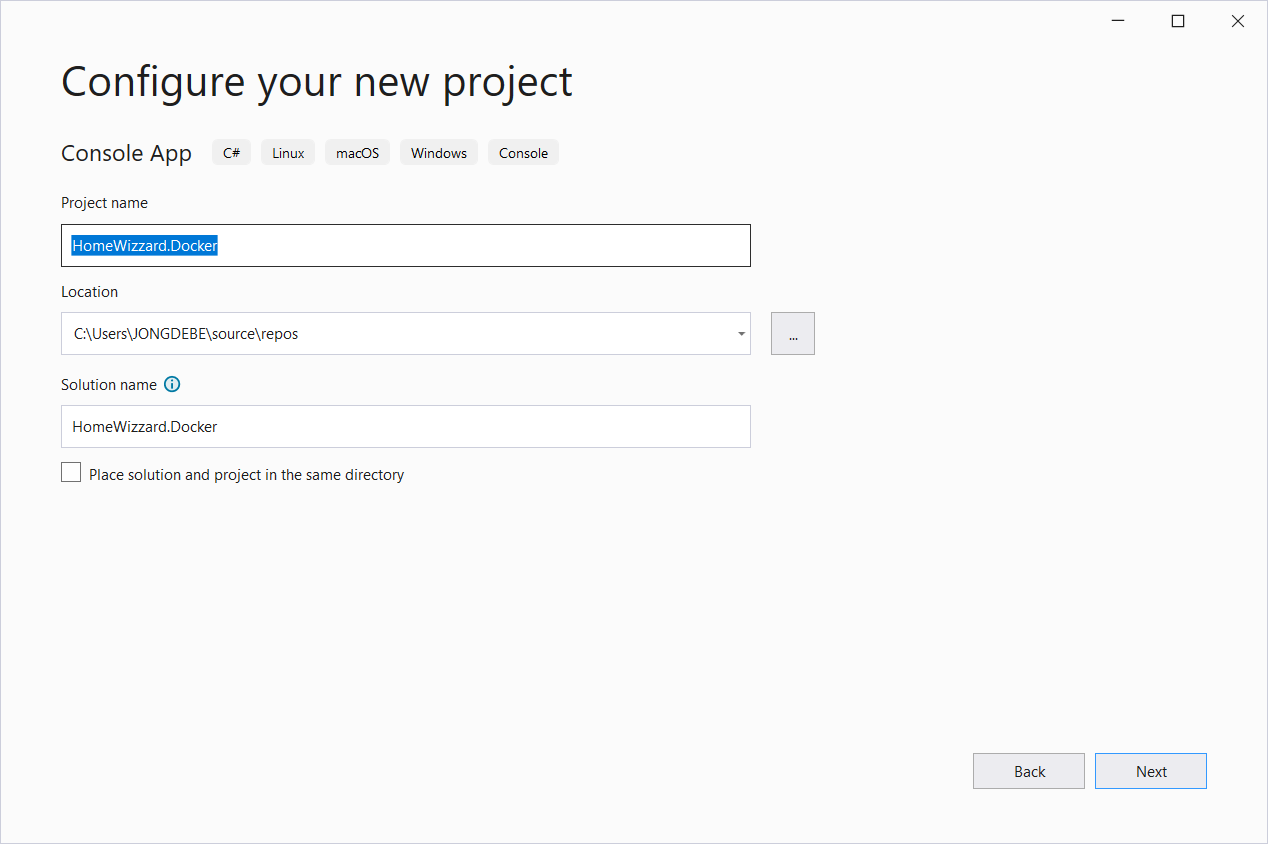
Create a new C# NET Core 6 console program. I use Visual Studio but of course you can use Visual Code or any other IDE.

Remove all code from the generated Program.cs and replace it with the code as shown below.
using HomeWizzard.Config;
using HomeWizzard.Docker;
using Microsoft.Extensions.DependencyInjection;
using Newtonsoft.Json;
var builder = new ServiceCollection()
.AddDbContext<ApplicationDbContext>()
.AddSingleton<IAppConfig, AppConfig>()
.BuildServiceProvider();
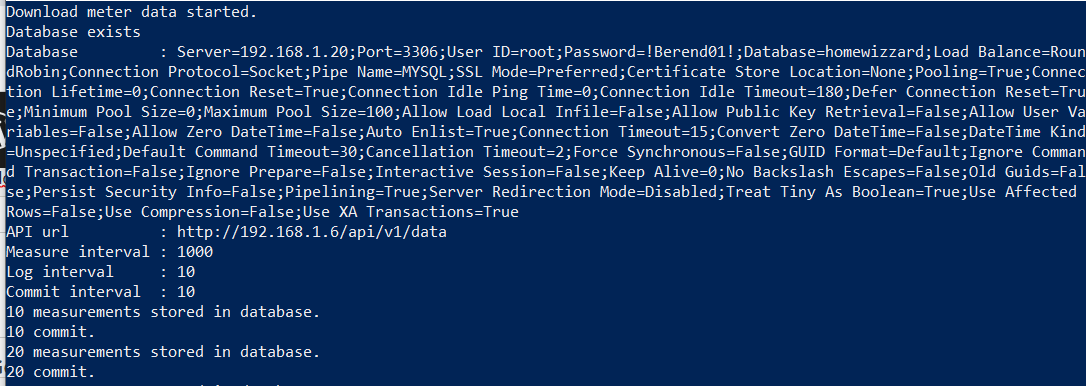
Console.WriteLine("Download meter data started.");
using (ApplicationDbContext? context = builder.GetRequiredService<ApplicationDbContext>())
{
// context.Database.EnsureDeleted();
Console.WriteLine(context.Database.EnsureCreated() ? "Database created" : "Database exists");
IAppConfig config = builder.GetRequiredService<IAppConfig>();
Console.WriteLine($"Database : {config.ConnectionString}");
Console.WriteLine($"API url : {config.ApiUrl}");
Console.WriteLine($"Measure interval : {config.MeasureInterval}");
Console.WriteLine($"Log interval : {config.LogInterval}");
Console.WriteLine($"Commit interval : {config.CommitInterval}");
using HttpClient client = new();
ulong counter = 1;
while (true)
{
using (var response = await client.GetAsync(config.ApiUrl))
{
string apiResponse = await response.Content.ReadAsStringAsync();
if (apiResponse != null)
{
MeterData? data = JsonConvert.DeserializeObject<MeterData>(apiResponse);
if (context.Measurements != null && data != null)
{
data.Response = apiResponse;
context.Measurements.Add(data);
}
}
}
if ((counter % config.LogInterval) == 0)
{
Console.WriteLine($"{counter} measurements stored in database.");
}
if ((counter % config.CommitInterval) == 0)
{
Console.WriteLine($"{counter} commit.");
await context.SaveChangesAsync();
}
counter++;
await Task.Delay(TimeSpan.FromMilliseconds(config.MeasureInterval));
}
}
Add a file called Dockerfile to this project with the contents as shown below. Be sure to set “Copy if newer” in the properties window of this file for the property “Copy to Output Directory”.
FROM mcr.microsoft.com/dotnet/aspnet:6.0
COPY . /app
WORKDIR /app
EXPOSE 80
ENTRYPOINT ["dotnet", "HomeWizzard.Docker.dll"]
Add a class called MeterData to this project that represents a single measurement. For this application it is stored in the main project but you could add a separate Model project. Use the definition as shown below.
namespace HomeWizzard.Docker
{
    using System.ComponentModel.DataAnnotations;

    /*
     * Example API response:
     *
     * {
     *      "smr_version":50,
     *      "meter_model":"Sagemcom T210-D ESMR5.0",
     *      "wifi_ssid":"TELE2-3DFA4A_2.4G",
     *      "wifi_strength":100,
     *      "total_power_import_t1_kwh":6888.519,
     *      "total_power_import_t2_kwh":7456.22,
     *      "total_power_export_t1_kwh":5352.048,
     *      "total_power_export_t2_kwh":12348.325,
     *      "active_power_w":-1409,
     *      "active_power_l1_w":-1463,
     *      "active_power_l2_w":-508,
     *      "active_power_l3_w":563,
     *      "total_gas_m3":8261.986,
     *      "gas_timestamp":220327122500
     *  }
     */
    public class MeterData
    {
        public MeterData()
        {
            this.DateTime = DateTime.Now;
        }
        public ulong Id { get; set; }
        [Required]
        public DateTime DateTime { get; set; }
        [MaxLength(50)]
        [Required]
        public string? meter_model { get; set; }
        [MaxLength(50)]
        [Required]
        public string? wifi_ssid { get; set; }
        [Required]
        public int? wifi_strength { get; set; }
        [Required]
        public double? total_power_import_t1_kwh { get; set; }
        [Required]
        public double? total_power_import_t2_kwh { get; set; }
        [Required]
        public double? total_power_export_t1_kwh { get; set; }
        [Required]
        public double? total_power_export_t2_kwh { get; set; }
        [Required]
        public double? active_power_w { get; set; }
        [Required]
        public double? active_power_l1_w { get; set; }
        [Required]
        public double? active_power_l2_w { get; set; }
        [Required]
        public double? active_power_l3_w { get; set; }
        [Required]
        public double? total_gas_m3 { get; set; }
        [Required]
        public long gas_timestamp { get; set; }
        [MaxLength(2048)]
        [Required]
        public string? Response { get; set; } = null;
    }
}
Add a new class library HomeWizzard.Config to the solution. Add a new interface called IAppConfig to this project with the definition as shown below.
namespace HomeWizzard.Config
{
    public interface IAppConfig
    {
        string ApiUrl { get; set; }
        string ConnectionString { get; }
        ulong LogInterval { get; }
        ulong CommitInterval { get; }
        ulong MeasureInterval { get; }
    }
}
Add a class AppConfig to the HomeWizzard.Config project that implements the IAppConfig interface. Code is shown below.
#nullable disable

namespace HomeWizzard.Config
{
    using Microsoft.Extensions.Configuration;
    using MySqlConnector;
    using System;

    public class AppConfig : IAppConfig
    {
        public AppConfig()
        {
            IConfiguration configProvider = new ConfigurationBuilder()
                .AddJsonFile("appsettings.json", true, true)
                .AddUserSecrets<AppConfig>()
                .AddEnvironmentVariables()
                .Build();

            // Defaults
            this.CommitInterval = 10;
            this.LogInterval = 1;
            this.MeasureInterval = 0;
            configProvider.Bind(this);

            if (this.MySql == null)
            {
                throw new InvalidOperationException("MySql configuration is missing");
            }
        }

        public ulong LogInterval { get; set; }

        public ulong CommitInterval { get; set; }

        public ulong MeasureInterval { get; set; }

        public string ApiUrl { get; set; }

        public MySqlConnectionStringBuilder MySql { get; set; }

        public string ConnectionString
        {
            get
            {
                return MySql.ConnectionString;
            }
        }
    }
}
We also need an appsettings.json file for the application settings. Add it to the HomeWizzard.Config project with the contents as shown below. Be sure to set “Copy if newer” in the properties window of this file for the property “Copy to Output Directory”.
{
  "ApiUrl": "http://192.168.1.6/api/v1/data",
  "CommitInterval" :  20,
  "MySql": {
    "Server": "localhost",
    "Port": 3306,
    "Database": "homewizzard",
    "UserID": "root",
    "Password": "**********"
  }
}
Now we are ready to publish our solution. Publish the solution to the @Docker share on the NAS. This share is created by the Docker installation. Create a subfolder on the share called HomeWizzard.
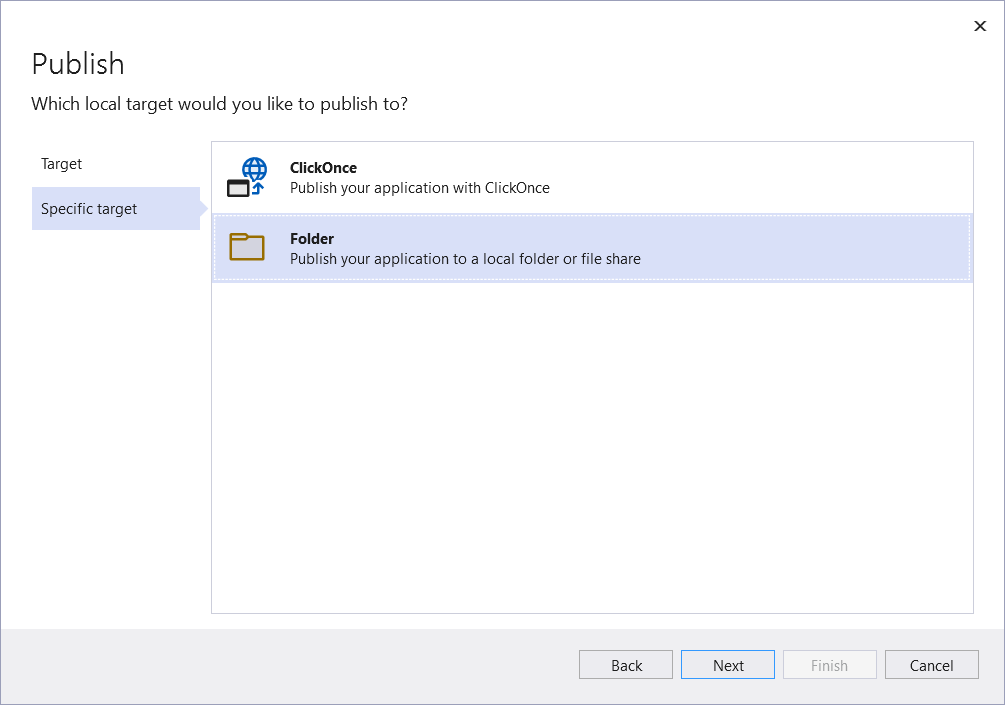
Next in Visual Studio right click your main project and select Publish. Choose folder as your publish target

Choose Folder as your Specific target
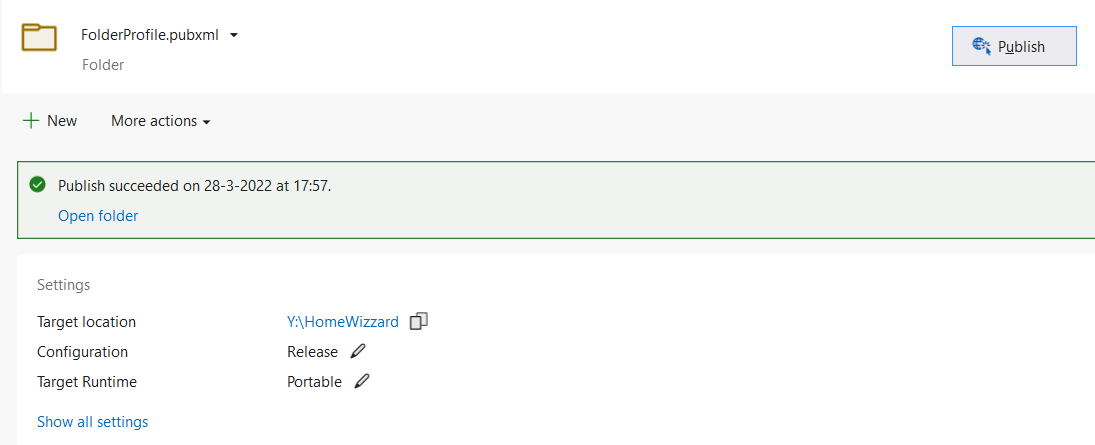
Browse to the correct location on your NAS and press Finish. Next press Publish to start publishing your application to the NAS folder.
Create the Docker image from your application
Now that we have the published application on our NAS share we can create a Docker image from it. In a ssh session on your NAS execute the commands below.
cd /volume1/docker/HomeWizzard
docker build -t homewizzard -f ./Dockerfile .
The new image is created. To list the images on your docker instance execute the command below
docker images

As you can see we have three images on our system. The aspnet image is created when the homewizzard image was created.
The nex step is to create a new container from the newly created homewizzard image. Execute the command below.
docker create --name=homewizzard --env="MeasureInterval=1000" --env="CommitInterval=10" --env="LogInterval=10" homewizzard
The command creates an image with tag (name) homewizzard. It also defines three environment variables that are used in our application. Finally the image homewizzard is used as the base for this container.
To list all containers in the registry execute the command below
docker container ls -a
All available containers will be shown (stopped and executing containers).

The final step is to start our container. Execute the command below.
docker start homewizzard
Check the log with this command
docker logs homewizzard
The log will show something like this
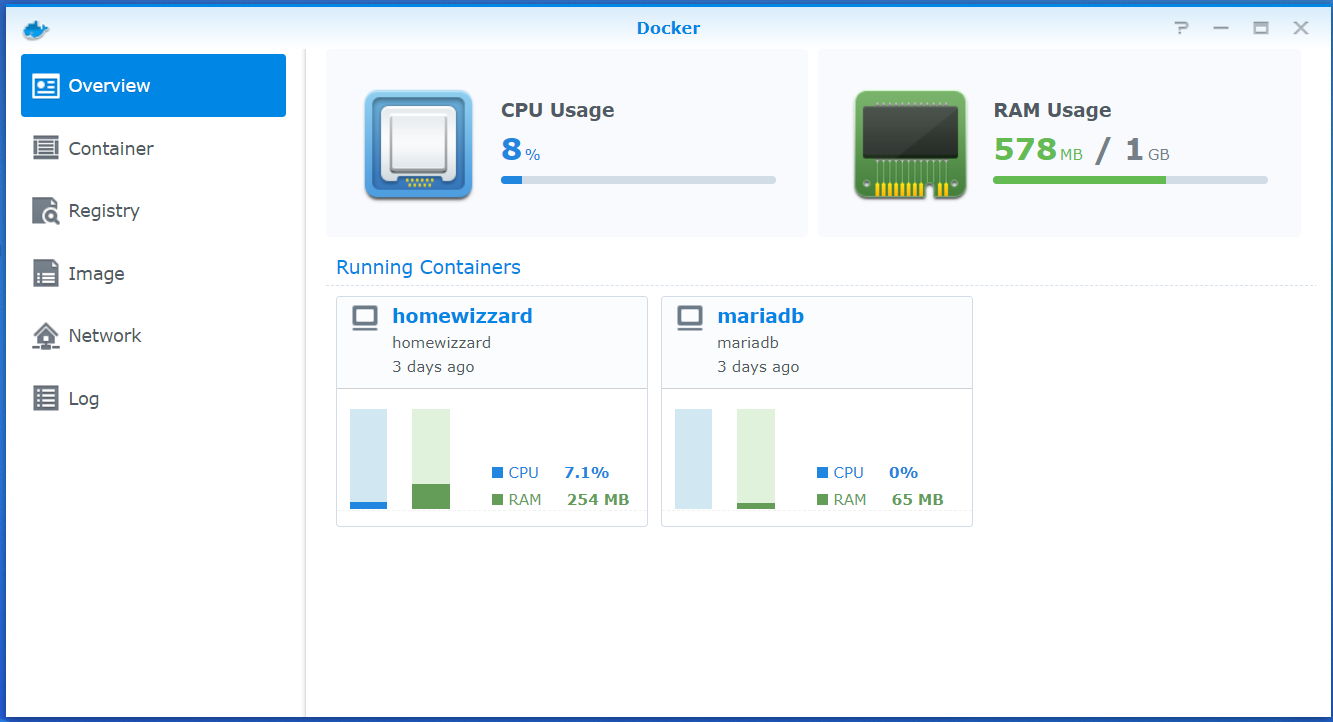
Final result
On the synology you can check in the DSM that the two Docker images are running.
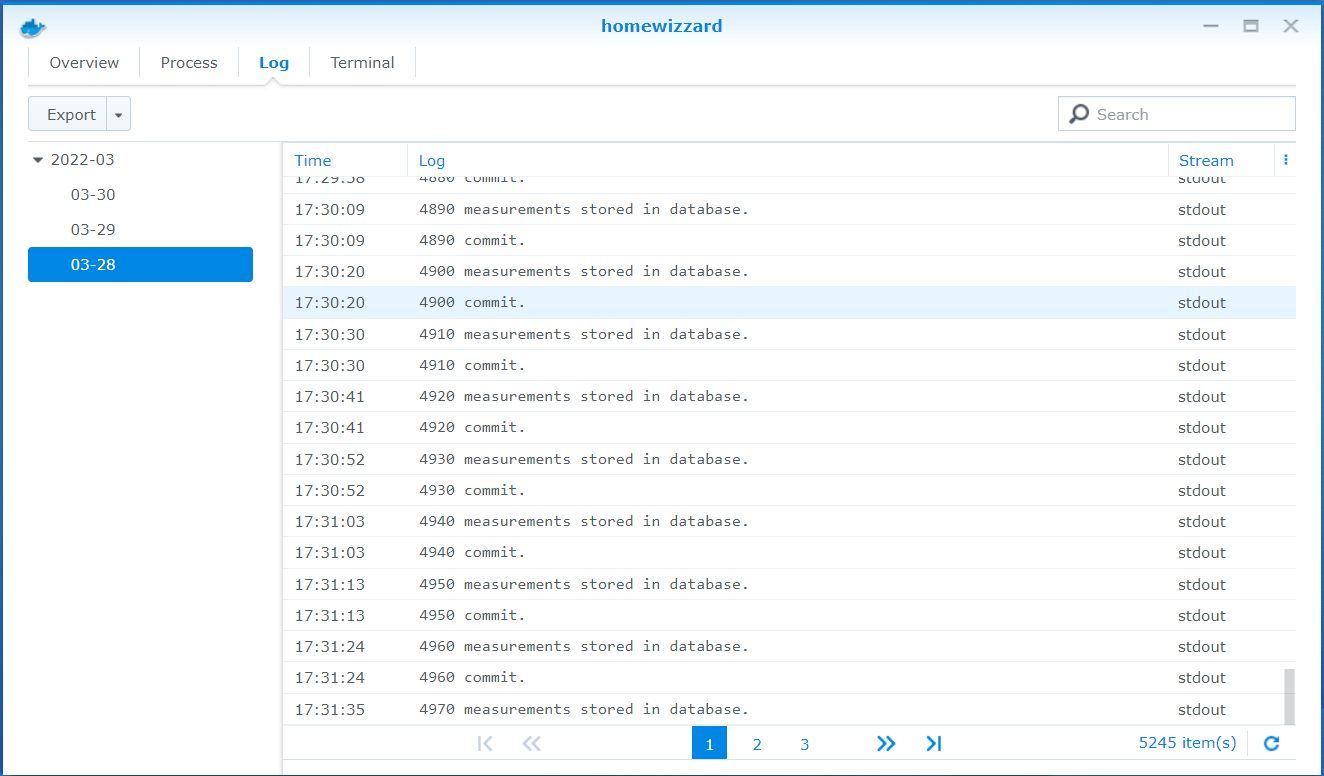
You can also view the log of each container in the DSM GUI. Go to the Container tab and double click on the container whose log you want to view.
Some usefull Docker commands
In this section, I’ll show you some Docker commands that you’ll probably use most often.
# build image from Dockerfile and files in current folder (.)docker build -t homewizzard -f ./Dockerfile .
# List docker imagesdocker images
# Show all docker containers (running and stopped)docker ps -a
# Start / stop a containerdocker start [imagename]
docker stop [imagename]
# Remove a container
docker container rm [containername]
# Remove an imagedocker rm [imagename]
# Rename an imagedocker rename [oldname] [newname]
# Start bash shell on containerdocker exec -it [imagename] bash
