With help of SOAP UI you can easily test your webservices. In this pos tI’m going to test a WCF web service (yes MS WCF; not my favourite company and technology but anyway….)
First create your webservice. Within Visual Studio goto File -> New Project . Choose Visual C# and select WCF Service Application
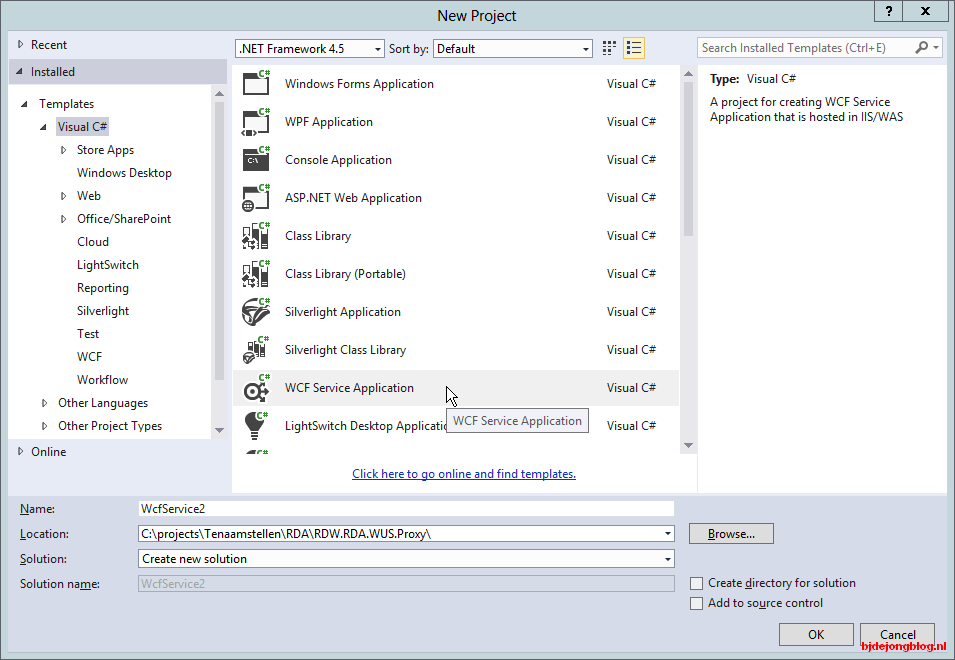
Create new project
Now start your project by pressing F5; the service, together with the WCF Test Client, will start and there are two methods available on this service:
GetData and GetDataUsingDataContract

The WCF Test client
Play around with the WCF Test Client to get the idea of how this works. Next we will install SOAP UI. Download your copy here. Install SOAP UI using the default settings.
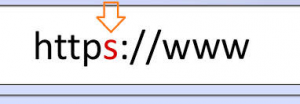
After installation start SOAP UI and create a new project. Goto File -> New soapui Project . Fill out the dialog as shown below (don’t forget to add the ?wsdl ):
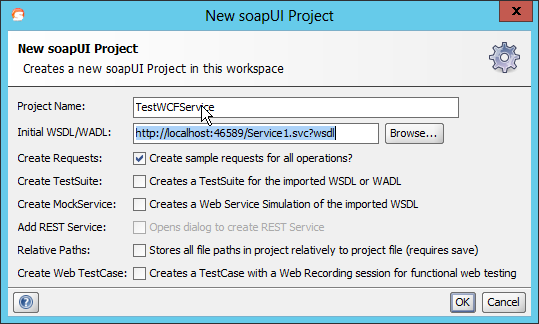
Press Ok; a new soapui project will be created. See the image below:
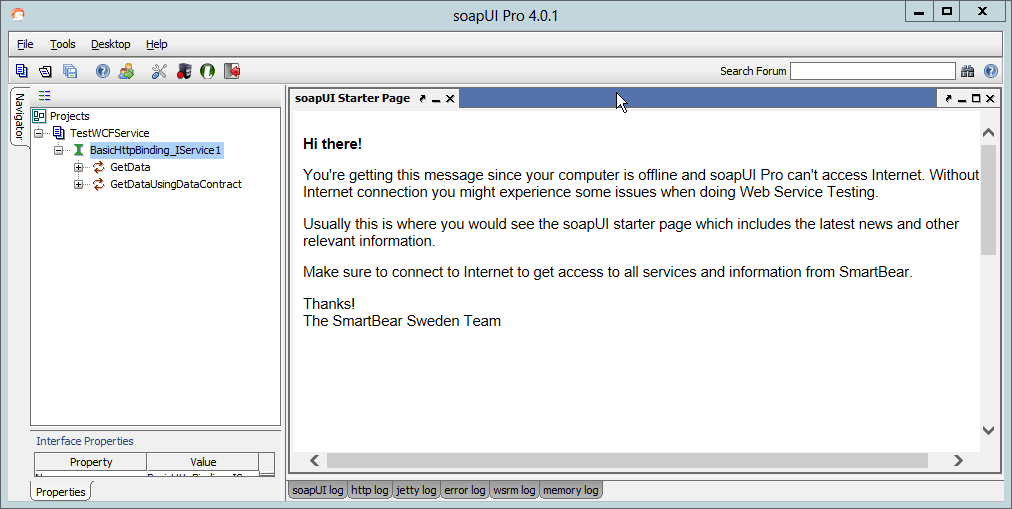
Now you can execute the same request as the WCF Test Client did; but there is more; much more!
Right click on the WCFTestService1 and choose New TestSuite.

Press OK. Right click on TestSuite 1 and choose New TestCase:
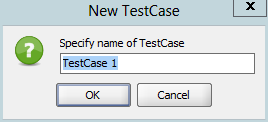
Press OK. Right click on Test Steps choose Add step and then Test request.
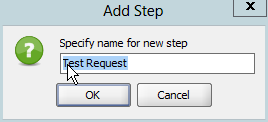
Press OK. Choose the operation you want to test:
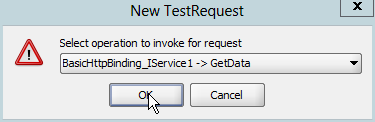
Press OK. On the next screen leave things as suggested
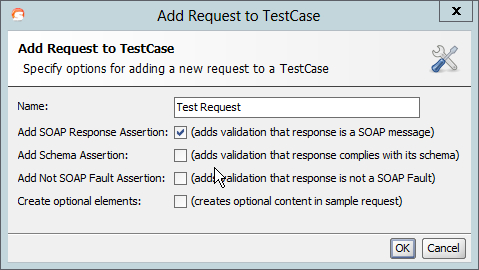
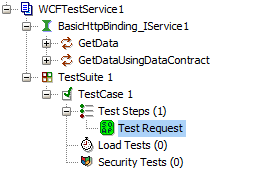
Press OK. Your first test request is added to the TestCase. By double clicking the TestCase 1 item and pressing the play button the test will be excuted. As you expected the test will succeed and a green icon is shown right before the test request entry:
Now lets add some testdata to the request. Place the following XML in the test request XML window. First select the xml view:
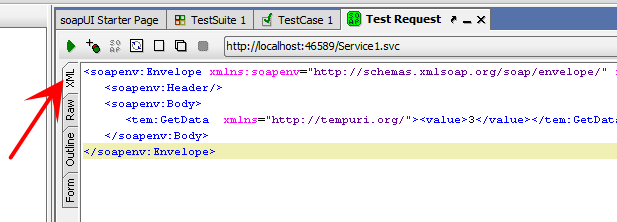
Now paste the XML below into the request:
<soapenv:Envelope xmlns:soapenv="http://schemas.xmlsoap.org/soap/envelope/" xmlns:tem="http://tempuri.org/">
<soapenv:Header/>
<soapenv:Body>
<tem:GetData xmlns="http://tempuri.org/"><value>3</value></tem:GetData>
</soapenv:Body>
</soapenv:Envelope>
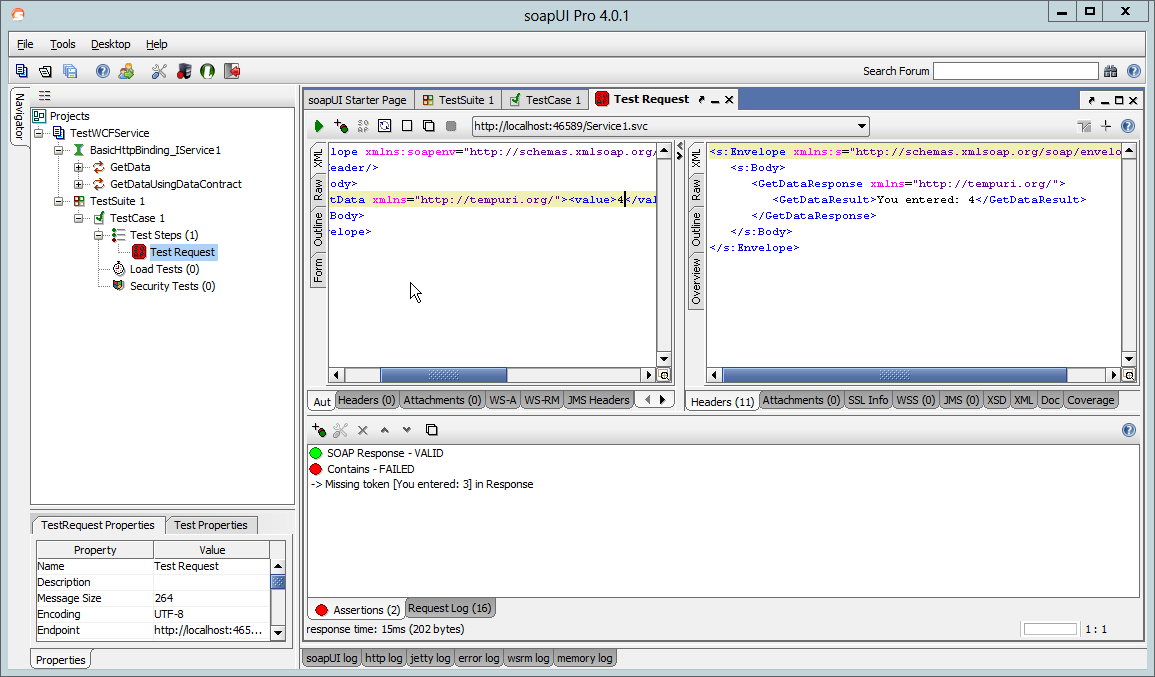
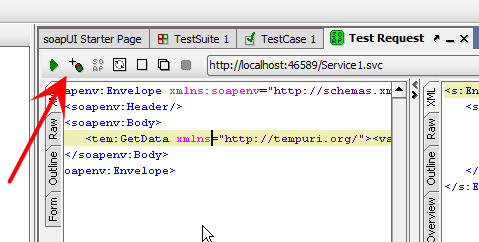
Now you can add assertions to your test script to make sure the operations works the way you want. For example lets assert that the GetDataResult field contains the text “You entered: 3”. Press the plus sign next to the play button:
Select the SOAP response assertion:

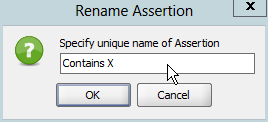
Give the assertiona unique name:
Type the text you want to look for in the response.
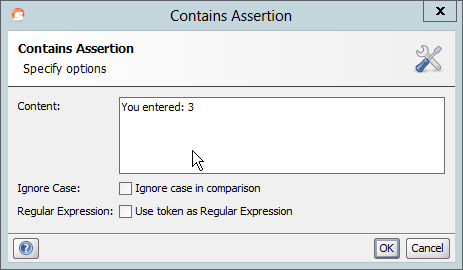
Now if you execute the request it will still succeed because the request contains the number three. Change this number to, for example 4, and you will see that the assertion fails.