
With QuestPDF it is very easy to generate a PDF in C# code within a few lines of code.
First of all install the required nuget package:
Install-Package QuestPDF
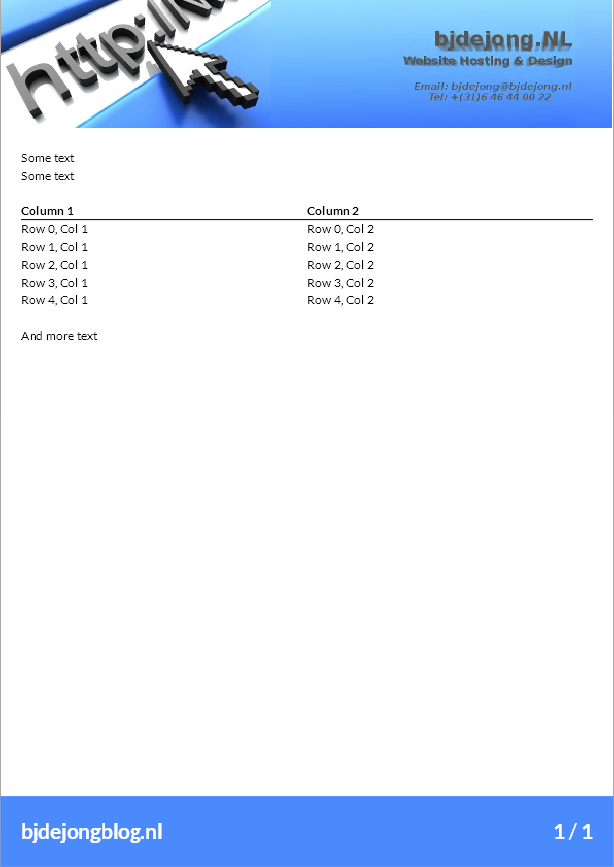
Next create a new class for your PDF document for example InvoicePdfDocument. The class should implement the IDocument interface from QuestPDF.Infrastructure. See the example below. This will generate a basic PDF with the following layout:
using QuestPDF.Fluent;
using QuestPDF.Infrastructure;

namespace PDFCreator;

public class InvoicePdfDocument : IDocument
{
    const string LogoPath = @"logo_a4.png";

    public void Compose(IDocumentContainer container)
    {
        container.Page(page =>
         {
             page.Header().Element(ComposeHeader);
             page.Content().Padding(20).Element(ComposeContent);
             page.Footer().Element(ComposeFooter);
         });
    }

    void ComposeHeader(IContainer container)
    {
        container.Column(col =>
        {
            col.Item().Image(LogoPath);
        });
    }

    void ComposeContent(IContainer container)
    {
        container.Column(col =>
        {
            col.Item().Text("Some text");
            col.Item().Text("Some text");
            col.Item().Text(string.Empty);
            col.Item().Table(table =>
            {
                table.ColumnsDefinition(columns =>
                {
                    columns.RelativeColumn(1);
                    columns.RelativeColumn(1);
                });

                table.Header(header =>
                {
                    header.Cell().BorderBottom(1).Text("Column 1").Bold();
                    header.Cell().BorderBottom(1).Text("Column 2").Bold();
                });

                for (int i = 0; i < 5; i++)
                {
                    table.Cell().Text($"Row {i}, Col 1");
                    table.Cell().Text($"Row {i}, Col 2");
                }
            });
            col.Item().Text(string.Empty);
            col.Item().Text("And more text");
        });
    }

    private void ComposeFooter(IContainer container)
    {
        container.Background("#4a8afd").Padding(20).Row(row =>
        {
            row.RelativeItem().Padding(0).Column(col =>
            {
                col.Item()
                   .Hyperlink("https://bjdejongblog.nl")
                   .Text("bjdejongblog.nl").ApplyCommonTextStyle();
            });
            row.RelativeItem().AlignRight().Text(text =>
            {
                text.CurrentPageNumber().ApplyCommonTextStyle();
                text.Span(" / ").ApplyCommonTextStyle();
                text.TotalPages().ApplyCommonTextStyle();
            });
        });
    }
}
I also added an extension method on TextSpanDescriptor to apply some common styles as an example.
using QuestPDF.Fluent;

namespace PDFCreator;

public static class ExtensionMethods
{
    public static TextSpanDescriptor ApplyCommonTextStyle(this TextSpanDescriptor desc)
    {
        return desc.FontColor("#ffffff").Bold().FontSize(20);
    }
}
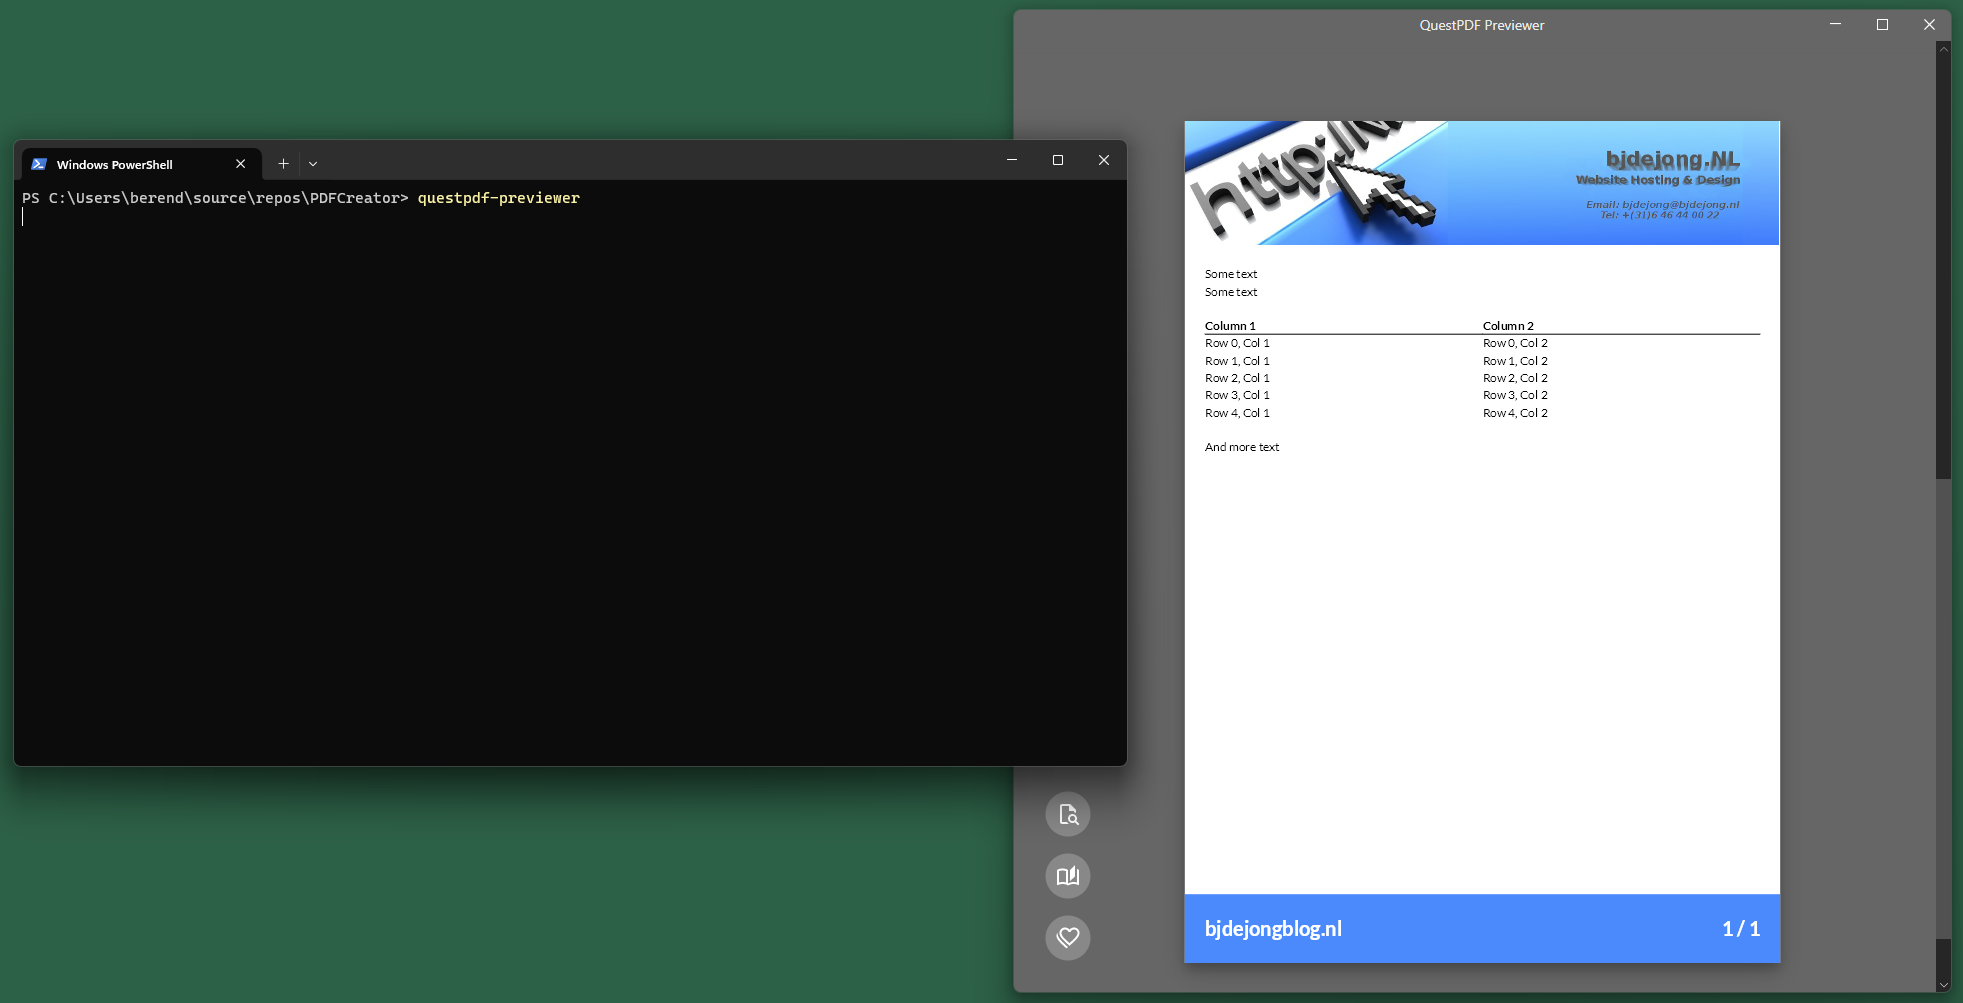
It is also possible to see a live preview of the document that will be generated based on your c# code. For this to work you have to install a external tool. This can be done with the following command:
dotnet tool install QuestPDF.Previewer --global
Now create for example a MVC web application and place the following code in your Index action (the line concerning the license should be in Program.cs, but you get the idea):
public IActionResult Index()
{
   QuestPDF.Settings.License = LicenseType.Community;
   var document = new CoalitiePdfDocument();
   document.GeneratePdf("output.pdf");
   document.ShowInPreviewer();

   return View();
}
Now in a terminal session start the questpdf-previewer
On Linux be sure to add the following nuget packages:
SkiaSharp.NativeAssets.Linux
HarfBuzzSharp.NativeAssets.Linux
