In this short post I will show you how to implement Cookie authentication with Visual Studio 2019 and ASP.NET CORE 3.1.
Continue reading
.NET CORE 3.1 Cookie Authentication
Leave a reply
In this short post I will show you how to implement Cookie authentication with Visual Studio 2019 and ASP.NET CORE 3.1.
Continue readingThis post will guide you through the process of creating a selfsigned certificate. I will also show you how to configure IIS and create a Visual Studio solution that uses Local IIS with the self signed certificate.
Several tips and tricks are include to help you better understand the use of certificates and solving problems you run into.
In this post I also refer to a somewhat old technique but still used in a lot of M2M communication: WCF.
HTTP Activation is not needed for regular ASP.NET sites but for WCF (and bindings as tcp) it should be installed at this point.
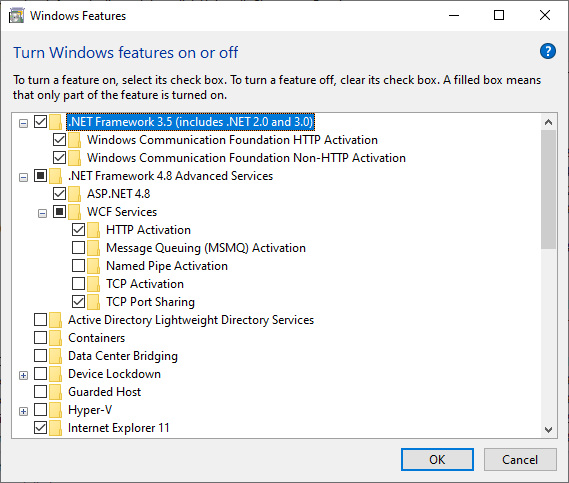
Go to “Control Panel”-> “Add Remove Programs” -> “Turn Windows Features on or off”.
Under “.NET Framework 3.5 (includes .NET 2.0 and 3.0)” check “Windows Communication Foundation “HTTP Activation”.
Under “.NET Framework 4.8 Advanced Services” -> “WCF Services” check “HTTP Activation”.
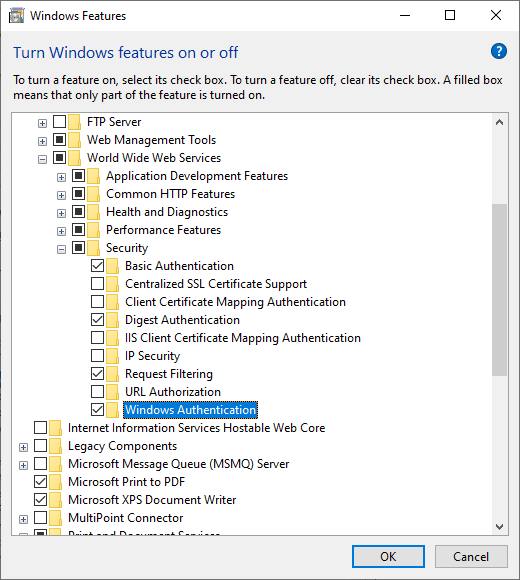
Under “Internet Information Services” check “World Wide Web Services” and also check “Web Management Tools”.
Under “Internet Information Services” -> “World Wide Web Services” -> “Security” check “Basic”, “Digest” and “Windows” authentication.
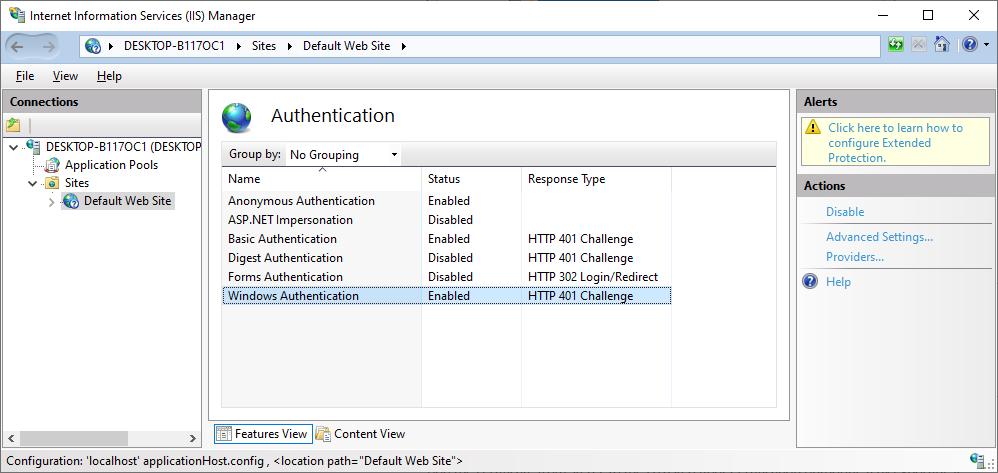
In inetmgr goto your website and under the IIS category select “Authentication”, then enable the authorisation schemes you will need.
Create certificate in administrator Power Shell prompt (dnsname option is important to set correctly, use output of hostname command):
$cert = New-SelfSignedCertificate -certstorelocation cert:\localmachine\my -dnsname [YOUR PC HOSTNAME]
You could also use OpenSSL to create your certificate, key and pfx file. You need to use the configuration file shown below to create a valid certificate.
The configuration specifies a subjectAltName which is needed for Chrome (and others) to accept the certificate as a valid certificate.
You will get an error message (This server could not prove that it is desktop-b1170c1; its security certificate does not specify Subject Alternative Names) if this configuration file is not used when creating the certificate.
[req]
distinguished_name = req_distinguished_name
x509_extensions = v3_req
prompt = no
[req_distinguished_name]
C = NL
ST = Groningen
L = Boerakker
O = bdejong.NL
OU = ICT
CN = desktop-b1170c1
[v3_req]
keyUsage = critical, digitalSignature, keyAgreement
extendedKeyUsage = serverAuth
subjectAltName = @alt_names
[alt_names]
DNS.1 = desktop-b1170c1
To create the certificate and the private key execute this command:
openssl req -x509 -nodes -days 365 -newkey rsa:2048 -keyout cert.key -out cert.pem -config .\openssl.cnf -sha256Next create a pfx file, which can be used to import into your certificate store, with the command below
openssl pkcs12 -export -out key.pfx -inkey cert.key -in cert.pemWhen using the OpenSSL commands you have to manually add the certificate (the pfx) to your certificate store.
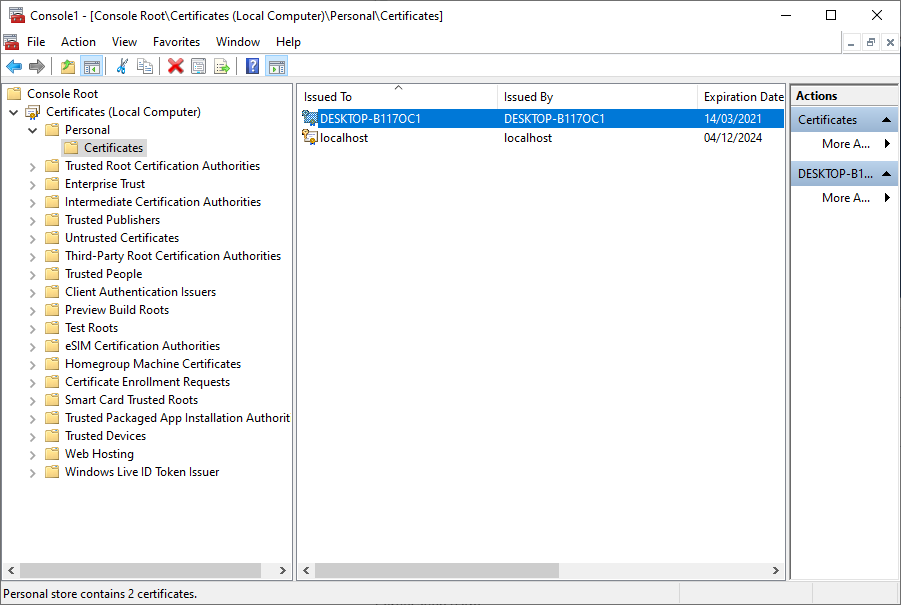
Start MMC and open the “Certificates” snap in for [Local Computer]. Browse to Console Root -> Certificates (Local Computer) -> Personal -> Certificates. Here you will find the certificate you have just created.
As you can see both certificates in the store have a private key in it. Only certificates with a private key can be used for https communication.
Add this certificate to the [Trusted Root Certification Authorities] by exporting it from [Local Computer]\Personal\Certtificates and importing it into [Trusted Root Certification Authorities].
Do not copy it into [Trusted Root Certification Authorities], it will not work!
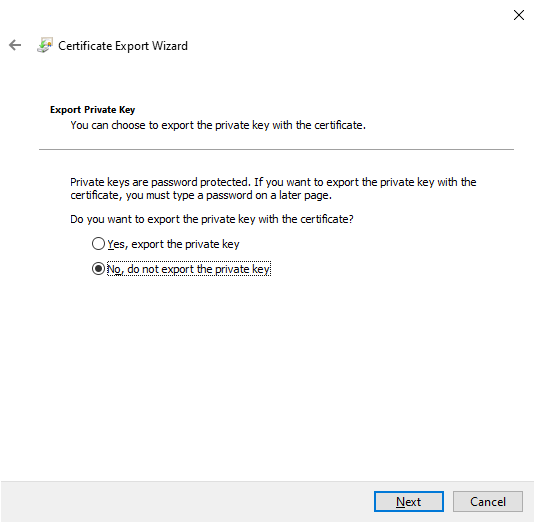
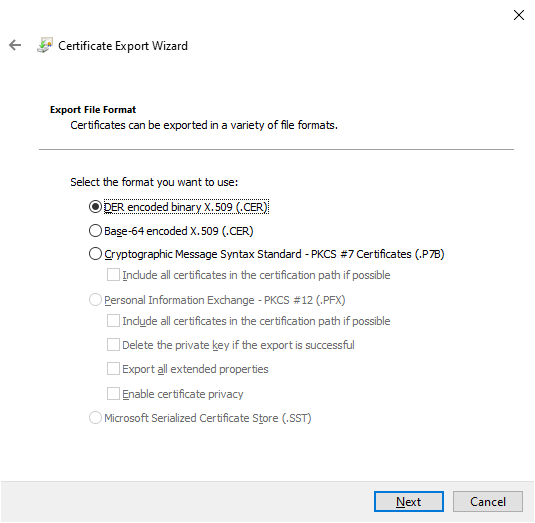
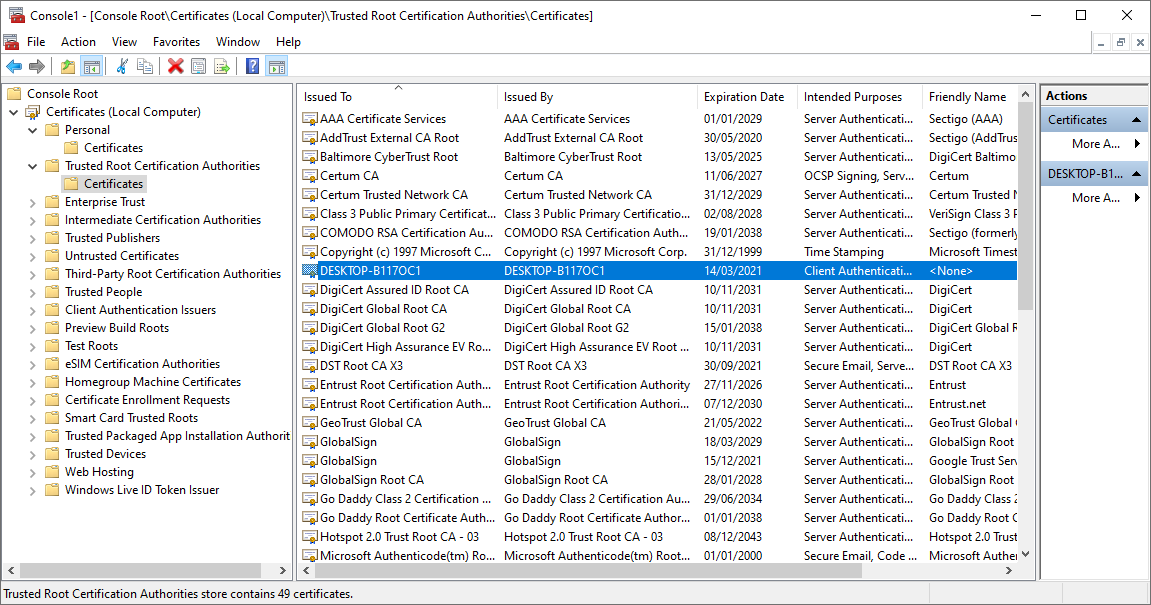
You do not need to export the private key. Use the the DER encode format. Save the certificate to disk, Now go to Console Root -> Certificates (Local computer) -> Trusted Root Certification Authorities -> Certificates. Right click and import the certificate.
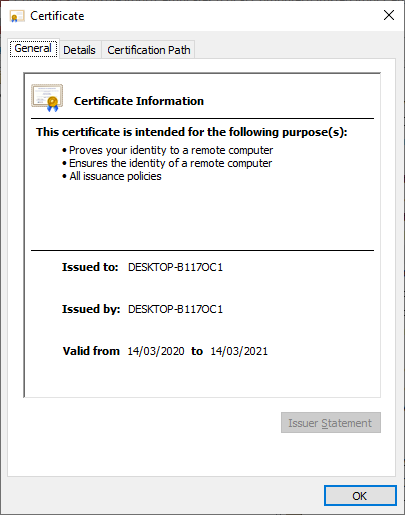
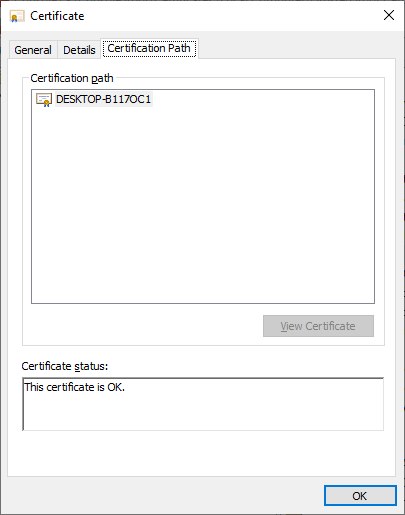
Double click the certificate in the personal store, it should now be valid (including the Certification Path).
Now create a new WCF project (yes I know it is old stuff but a lot of companies still use and develop WCF services). In case you are using Visual Studio 2017 or above you need to install the WCF project template. This can be done when creating a new project, scroll all the way down and select “Install more tools and features”.
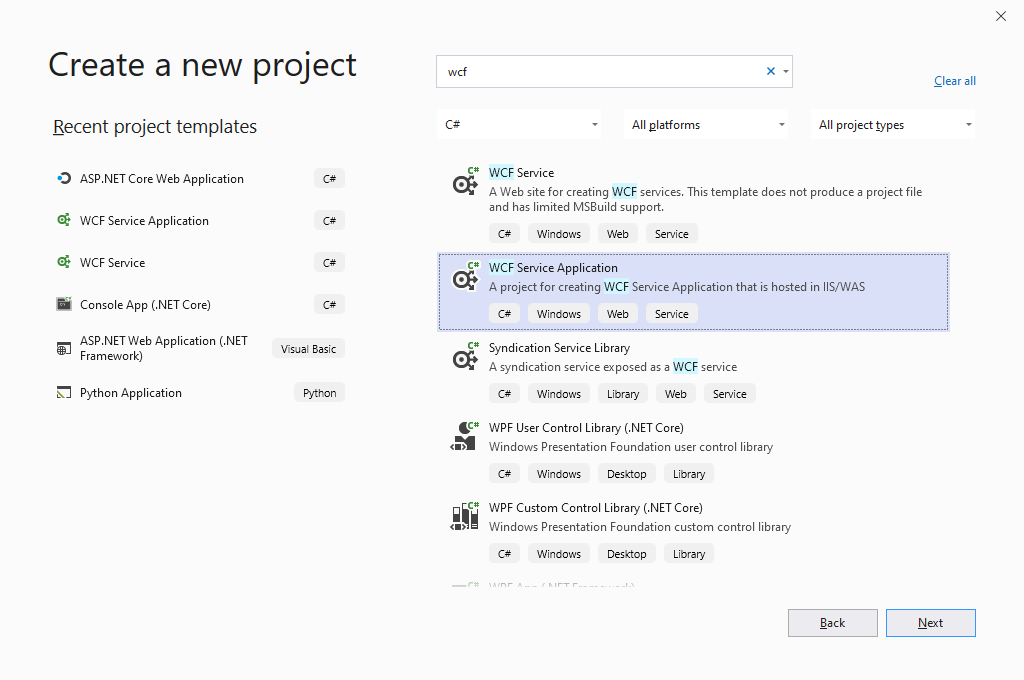
Choose WCF Service application as your project template (not WCF Service).
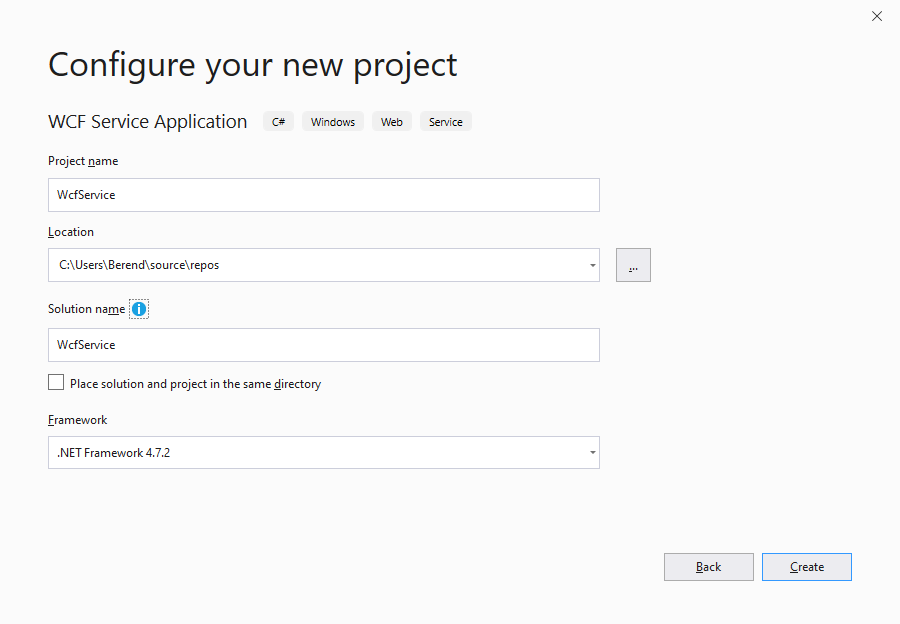
Leave everything default and press Create.
As start page choose your svc file (in case of a WCF service) any other page otherwise.
In the project options of your wcf / web project on the web tab set the server to “Local IIS”.
Set the url of your project to: “https://[YOUR HOST NAME]/WcfService1” and press create Virtual Directory (you have to be administrator to do that so start Visual Studio as Administrator).

If the site is not reachable add the hostname to “\windows\drivers\etc\hostname”:
# localhost name resolution is handled within DNS itself.
# 127.0.0.1 localhost
# ::1 localhost
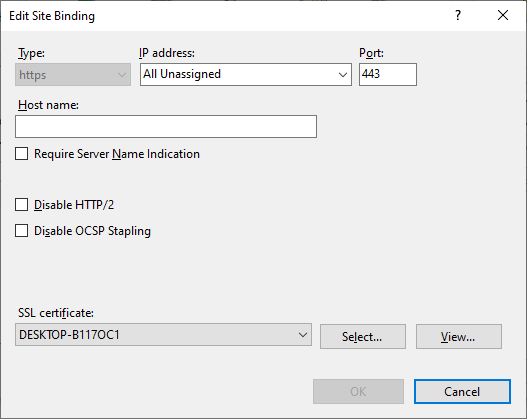
127.0.0.1 DESKTOP-B1170C1Next change the binding of your https site in IIS. Start the inetmgr (via Windows+R) and select the default website. On the far right select “Bindings…”.
Then select the https entry and press Edit. Here you can change the SSL certificate to the one you have created before.
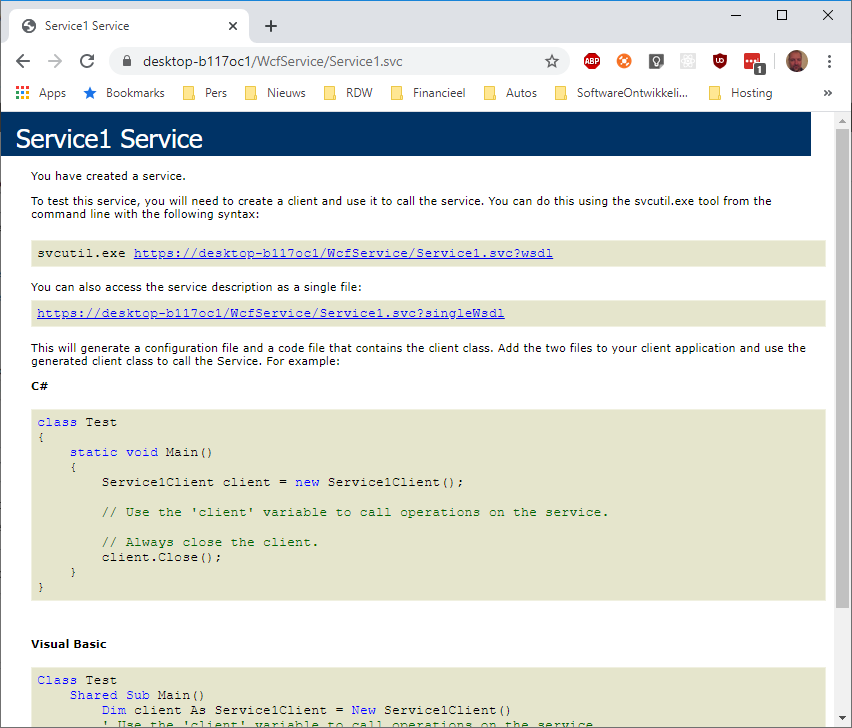
Now back to Visual Studio and start your WCF service. As you can see the certificate is valid for this service.
Usefull links
How to: Create Temporary Certificates for Use During Development
WCF: Common security scenarios
Install the nuget Moq package. Below is a simple example to create a mock for a database implementation (which is also a mock :-)).
namespace ConsoleApp1
{
    using Moq;
    using System;
    using System.Collections.Generic;

    public interface IDAL
    {
        List<string> RetrieveBooks();
    }

    public class DAL : IDAL
    {
        public List<string> RetrieveBooks()
        {
            return new List<string> { "a", "b", "c" };
        }
    }

    public class BookManager
    {
        private IDAL _dal;

        public BookManager(IDAL dal)
        {
            _dal = dal;
        }

        public List<string> GetBooks()
        {
            return this._dal.RetrieveBooks();
        }
    }

    class Program
    {
        static void Main(string[] args)
        {
            /*
             * Bookmanager with database implementation
             */
            Console.WriteLine("Database implementation");
            BookManager bmDB = new BookManager(new DAL());
            bmDB.GetBooks().ForEach(i => Console.WriteLine(i));

            /*
             * Bookmanager with a mock database
             */
            Console.WriteLine("Database mock implementation");
            var dal_mock = new Mock<IDAL>();
            dal_mock.Setup(i =>
               i.RetrieveBooks()).Returns(new List<string> { "d" });
            BookManager bmMOQ = new BookManager(dal_mock.Object);
            bmMOQ.GetBooks().ForEach(i => Console.WriteLine(i));
        }
    }
}
