In this short post I will show you how to implement Cookie authentication with Visual Studio 2019 and ASP.NET CORE 3.1.
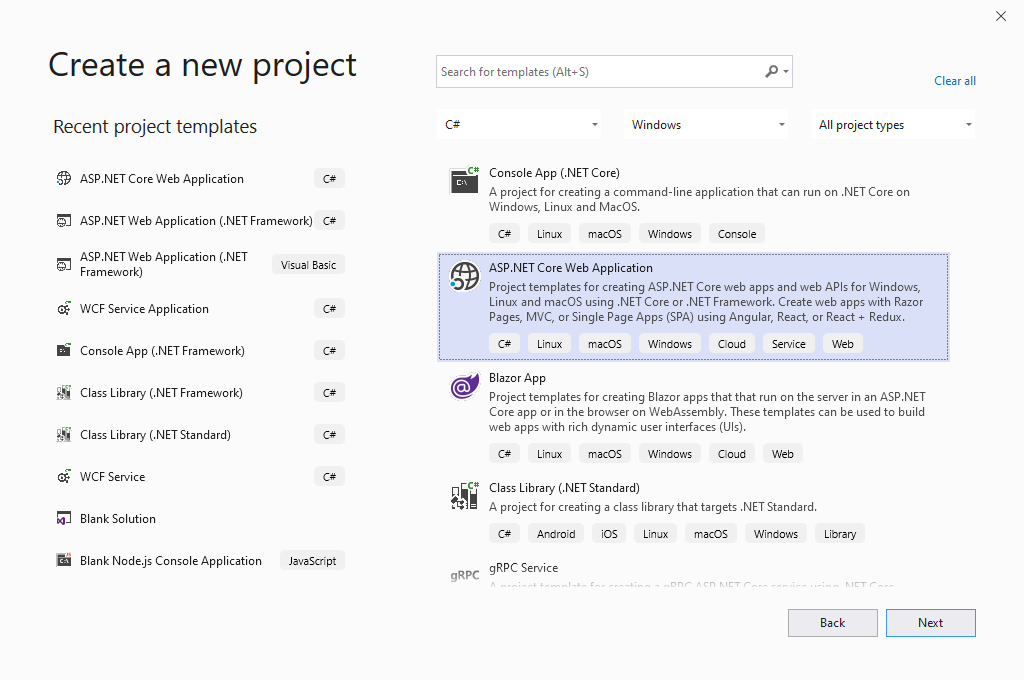
In Visual Studio create a new .NET CORE Web Application project. Press Next
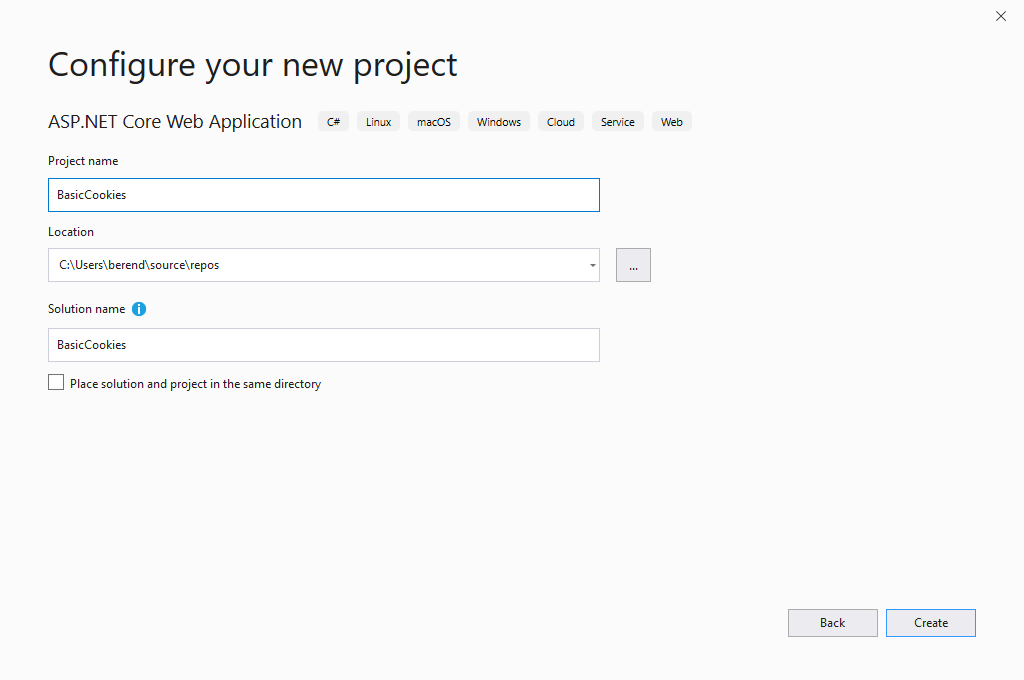
Give it a name, “BasicCookies” for example. Press Create.
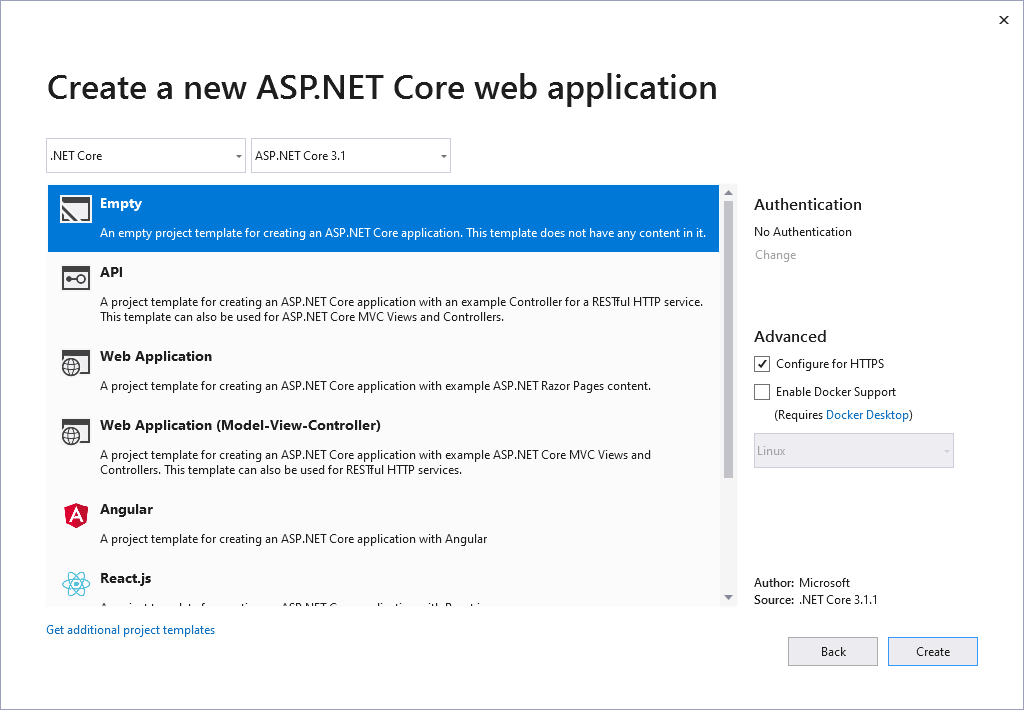
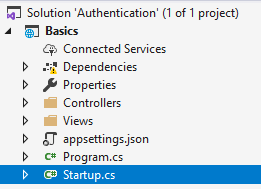
Create a empty web application, press Create. This will create the solution structure as shown below.
In the generated startup.cs replace the entire Configure function with the code below.
public void Configure(IApplicationBuilder app, IWebHostEnvironment env)
        {
            if (env.IsDevelopment())
            {
                app.UseDeveloperExceptionPage();
            }
            app.UseRouting();
            app.UseAuthentication();
            app.UseAuthorization();
            app.UseEndpoints(endpoints =>
            {
                endpoints.MapDefaultControllerRoute();
            });
        }
Also replace the entire ConfigureServices function with the code below.
public void ConfigureServices(IServiceCollection services)
        {
            services.AddAuthentication(CookieAuthenticationDefaults.AuthenticationScheme).AddCookie(config =>
            {
                config.Cookie.Name = "Cookie.Basics";
                config.LoginPath = "/Home/Authenticate";
            });
            services.AddControllersWithViews();
        }
Now create a new folder “Controllers” and add a new class “HomeController” to it. Replace the entire generated contents with the code shown below. The code below shows that a user ClaimsPrincipal can have multiple identities coming from different sources.
namespace Basics.Controllers
{
    using Microsoft.AspNetCore.Authentication;
    using Microsoft.AspNetCore.Authorization;
    using Microsoft.AspNetCore.Mvc;
    using System;
    using System.Collections.Generic;
    using System.Security.Claims;

    public class HomeController : Controller
    {
        public IActionResult Index()
        {
            return View();
        }

        [Authorize]
        public IActionResult ProtectedPage()
        {
            return View();
        }

        public IActionResult Authenticate()
        {

            var passPortClaims = new List<Claim>()
            {
                new Claim(ClaimTypes.Name, "Berend de Jong"),
                new Claim(ClaimTypes.Email, "email@passport.com"),
                new Claim(ClaimTypes.DateOfBirth, new DateTime(1971, 03, 09).ToString()),
            };

            var licenseClaim = new List<Claim>()
            {
                new Claim(ClaimTypes.Name, "Berend de Jong"),
                new Claim(ClaimTypes.Email, "enail@driverlicense.com"),
                new Claim("DrivingLicense", "Truck")
            };

            var passportIdentity = new ClaimsIdentity(passPortClaims, "MyPassport");
            var licensedentity = new ClaimsIdentity(licenseClaim, "MyLicense");

            var userPrincipal = new ClaimsPrincipal(new[] { passportIdentity, licensedentity });

            HttpContext.SignInAsync(userPrincipal);

            return RedirectToAction("Index");
        }
    }
}
As you can see we have three actions. Two action return the view for the given action and the third, Authenticate, returns to the Index view.
Create the Index view and the ProtectedPage view. As you can see the ProtectedPage view has an Authorize attribute. This means that we first have to authorize before we can access the view.
Create a new folder Views and within the Views folder create a folder Home. Right click on the new Home folder and select Add -> View.
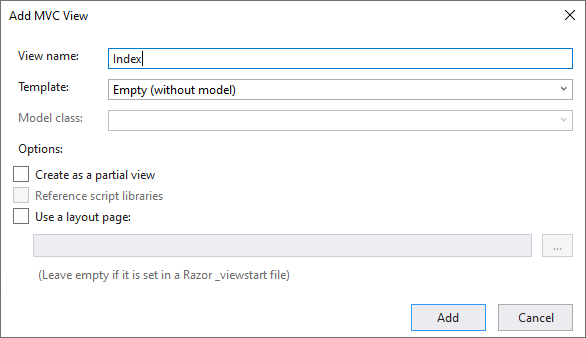
Replace the entire file contents with the contents below. Do the same for the ProtectedPage view, replace the contents with something you will recognize as the protected page…
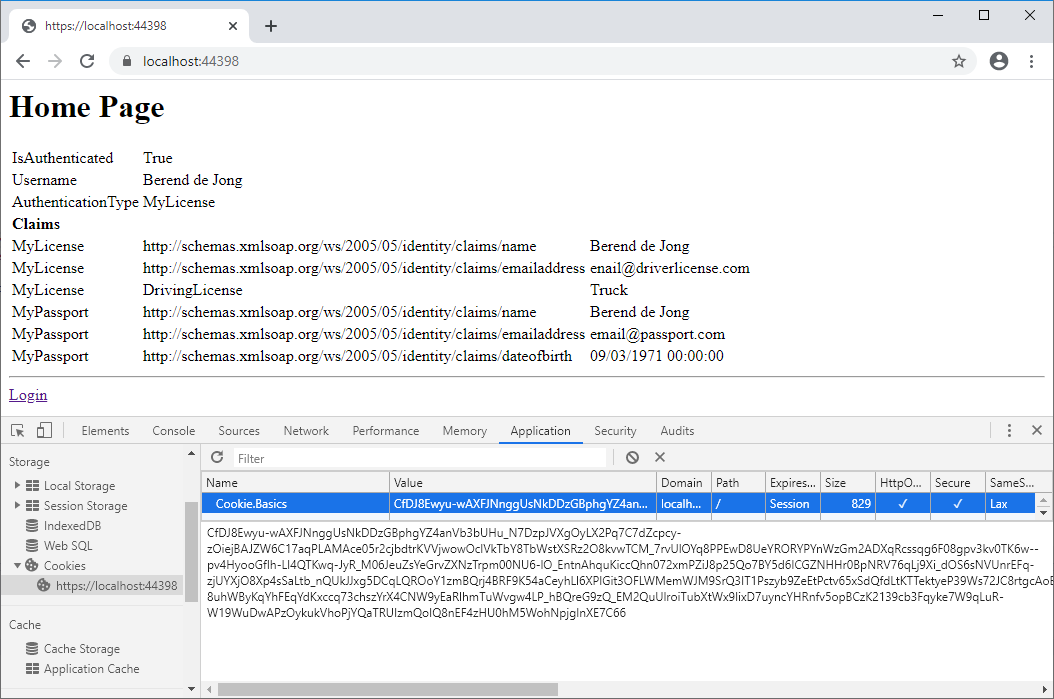
<h1>Home Page</h1>
<table>
    <tr><td>IsAuthenticated</td><td>@User.Identity.IsAuthenticated</td></tr>
    <tr><td>Username</td><td>@User.Identity.Name</td></tr>
    <tr><td>AuthenticationType</td><td>@User.Identity.AuthenticationType</td></tr>
    <tr><td colspan="2"><strong>Claims</strong></td></tr>
    @foreach (var c in User.Claims)
    {
        <tr>
            <td>@c.Subject.AuthenticationType</td><td>@c.Type</td><td>@c.Value</td>
        </tr>
    }
</table>
<hr/>
<a href="/home/protectedpage">Login</a>
Now you can start debugging the site. When you start the web application the home page will show up. Once you navigate to https://localhost:[port]/home/protectedpage you will be redirected to the home page. The Authenticate method has authenticated you and a cookie is stored in the browser.