What is XAMPP
XAMPP stands for Cross-Platform (X), Apache (A), MariaDB (M), PHP (P) and Perl (P). It is a simple, lightweight Apache distribution that makes it extremely easy for developers to create a local web server for testing and deployment purposes.
XAMPP Installation
![]() Download your XAMPP installation here. After installation start the XAMPP Control panel (right click on tray icon for XAMPP and choose show/hide).
Download your XAMPP installation here. After installation start the XAMPP Control panel (right click on tray icon for XAMPP and choose show/hide).
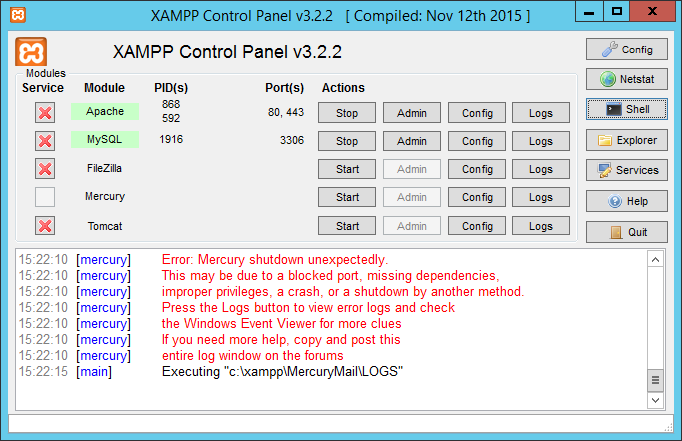
XAMPP Control Panel
Start the Apache and MySQL service. PID(s) and Port(s) should show a number now indicating the services are listening at the ports shown.
Apache
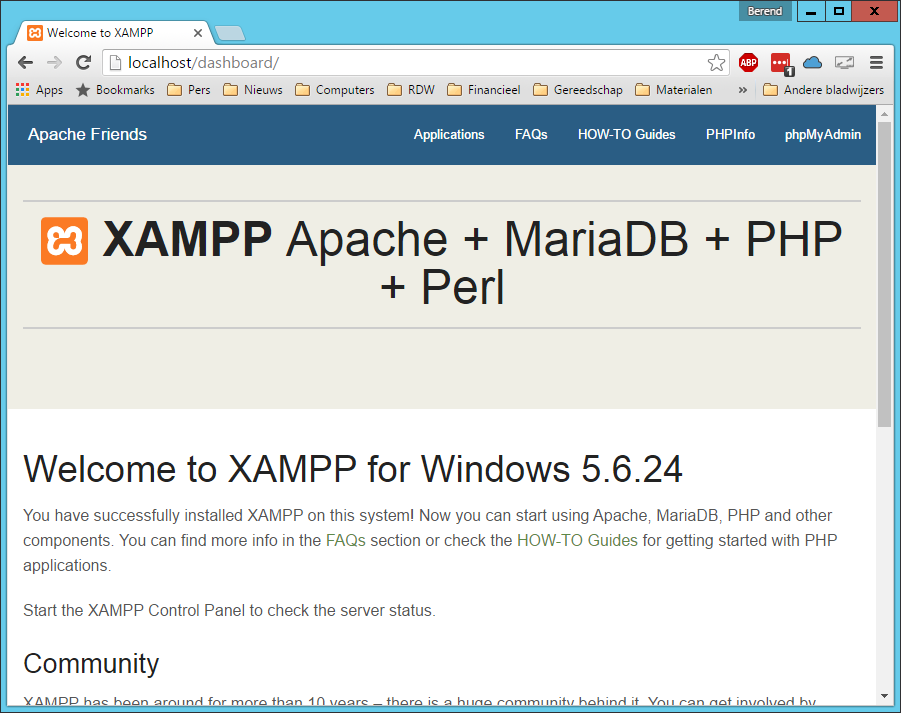
After installation navigate to http://localhost . If Apache is started the XAMPP dashboard is shown in your browser.
MySQL (MariaDB)
To check if MySQL is up and running choose the phpMyAdmin link on the dashboard; if everything is ok the phpMyAdmin dashboard shows up. First thing todo is change your root password for the MySQL instance. Change directory to c:\xampp\mysql\bin and execute the command:
mysqladmin.exe –user=root password “<newpwd>”
To change the MySQL password execute the command:
mysqladmin.exe –user=root –password=<oldpwd> password newpwd
Now phpMyAdmin will stop working because you just changed the root password. To solve this open the phpMyadmin configuration file at c:\xampp\phpMyAdmin\config.inc.php . Change the blowfish_secret to some random value not being xampp. Next set a value of “cookie” for auth_type. Next time you navigate to the phpMyadmin site phpMyAdmin will ask for a username and password.
Setup your first Apache web-site
If both Apache and MySQL are running you can go ahead and setup your first site. In XAMPP sites are stored at c:\xampp\htdocs . Create a directory called xamp.test.tld . Inside this directroy create a document index.php with the following contents:
<?php
phpinfo();
Ok; now on to the Apache configuration. Open the file c:\xampp\apache\conf\extra\httpd-vhosts.conf and add the following text to the bottom of this file:
<VirtualHost *:80>
DocumentRoot C:/xampp/htdocs/
ServerName localhost
</VirtualHost>

<VirtualHost *:80>
   DocumentRoot C:/xampp/htdocs/xampp.test.tld
   ServerName xampp.test.tld
   <Directory "C:/xampp/htdocs/xampp.test.tld">
      Require all granted
      AllowOverride All
   </Directory>
</VirtualHost>
The first virtualhost is the primary or default virtualhost. Hosts that have an unknown ServerName (ie there is no virtualhost definition with this ServerName attribute) are served from this virtual host. In out setup this is also localhost.
That’s all for the Apache configuration. One more thing left to configure and that is the windows host file at c:\windows\system32\drivers\etc\hosts . Add the following line to this file:
127.0.0.1 xampp.test.tld
Your configuration is now complete. Restart your apache server and send your browser to http://xamp.test.tld . The phpinfo page should appear.
Create SSL Website

Open SSL
For a site to use SSL we have to create a certificate first which has to be referenced in our Apache virtual host definition. To create your own certificates check this great tutorial. It will guide you step by step through creating a root CA, intermediate CA, certificates and revocation lists. For future reference a short transcript can be found here.
The root certificate you create has to be installed in the Trusted root user certificate store.
After you have create and installed the root CA you can start using the new certificates in your Apache configuration. Lets create a new SSL website for xampp.test.tld . Open the file c:\xampp\apache\conf\extra\httpd-vhosts.conf and add the following lines to the end of this file:
<VirtualHost *:443>
DocumentRoot C:/xampp/htdocs/xampp.test.tld
ServerName xampp.test.tld
SSLEngine on
SSLCertificateFile "conf/mycerts/ca/intermediate/certs/xampp.test.tld.cert.pem"
SSLCertificateKeyFile "conf/mycerts/ca/intermediate/private/xampp.test.tld.key.pem"
SSLCertificateChainFile "conf/mycerts/ca/intermediate/certs/ca-chain.cert.pem"
</VirtualHost>
This virtual host defines the SSL site. As you can see there are references to the certificates you created before with OpenSSL.
Now send your browser to https://xampp.test.tld (mind the s in https) and you should see the PHP information page.
