Download it from https://dev.mysql.com/downloads and start the installer. For the most part it is a Next Next Finish process. Pay attention what server you choose; 8.0 is the newest at the time of this writing but a lot of 5.7 installations are still in production.
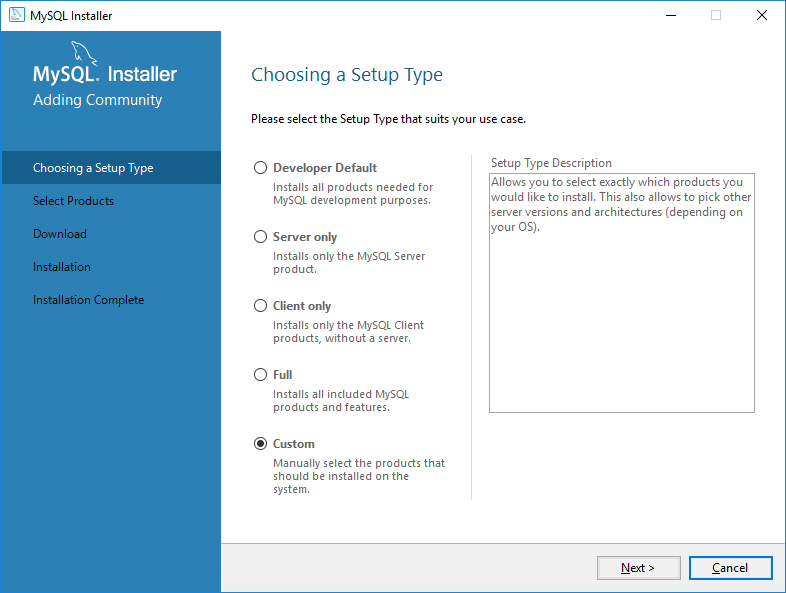
Choose Custom for Setup type

Select the database server “MySQL Server 8.0.28 – x64” and select “MySQL Workbench 8.0.28 – X64”.
Press Next
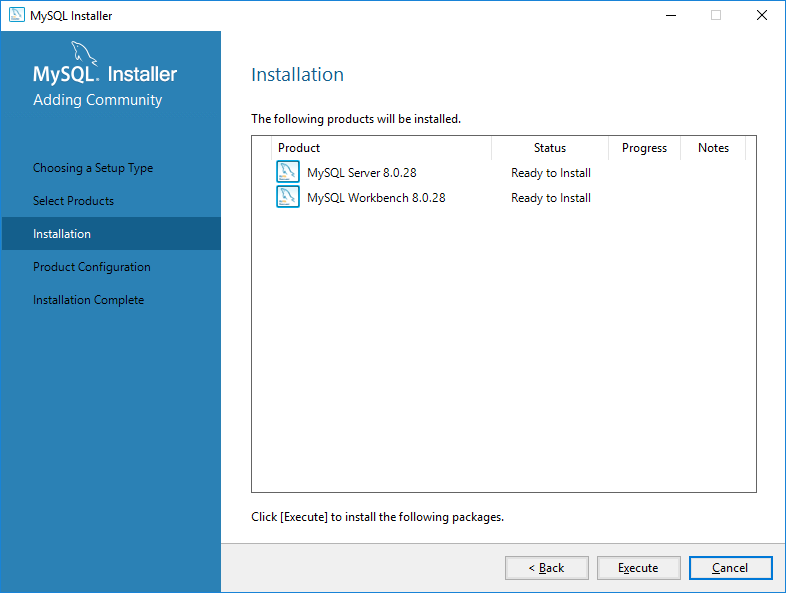
Press Execute
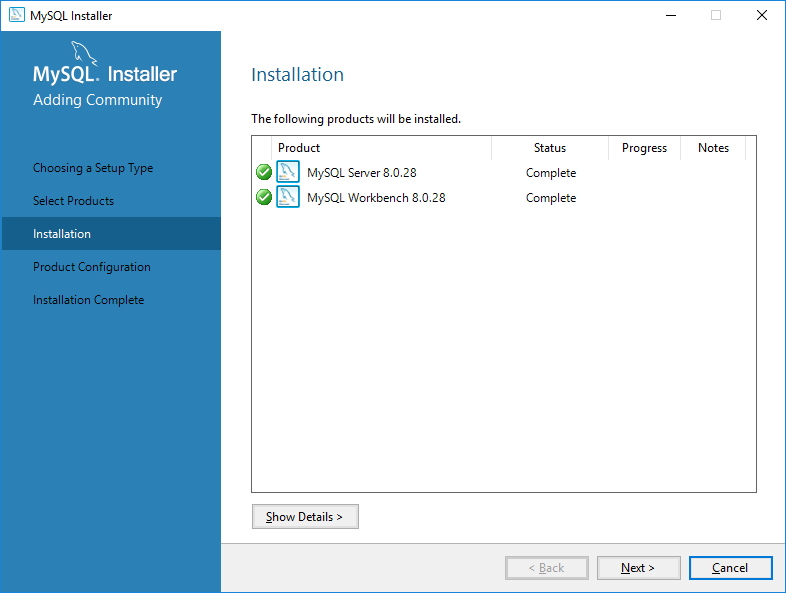
Installation succeeded.
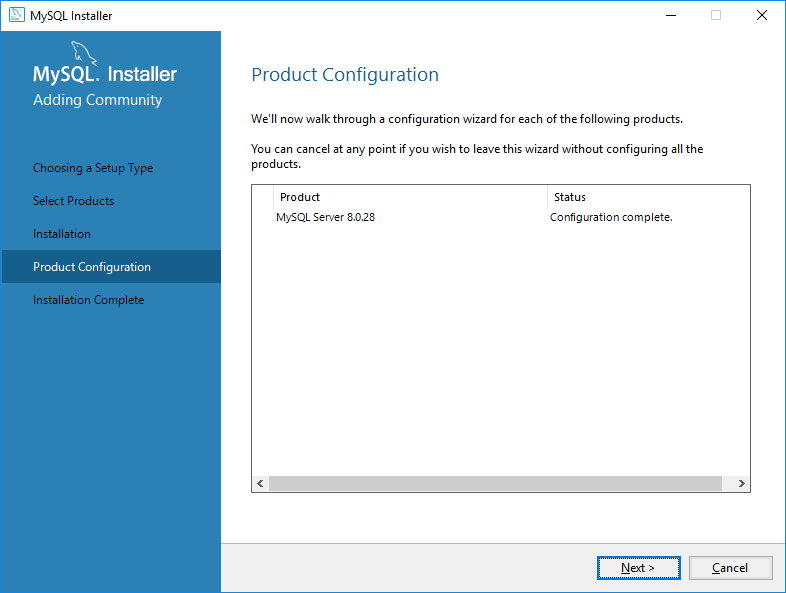
Press Next.
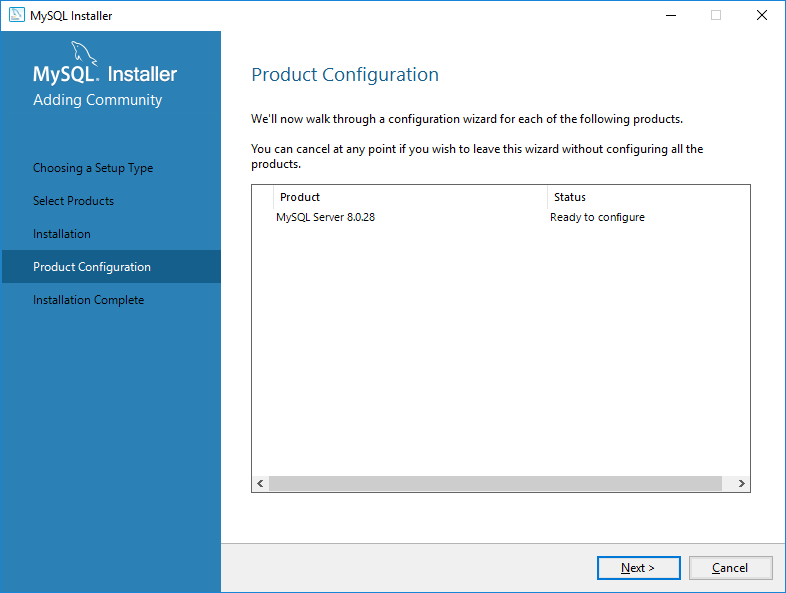
Press Next
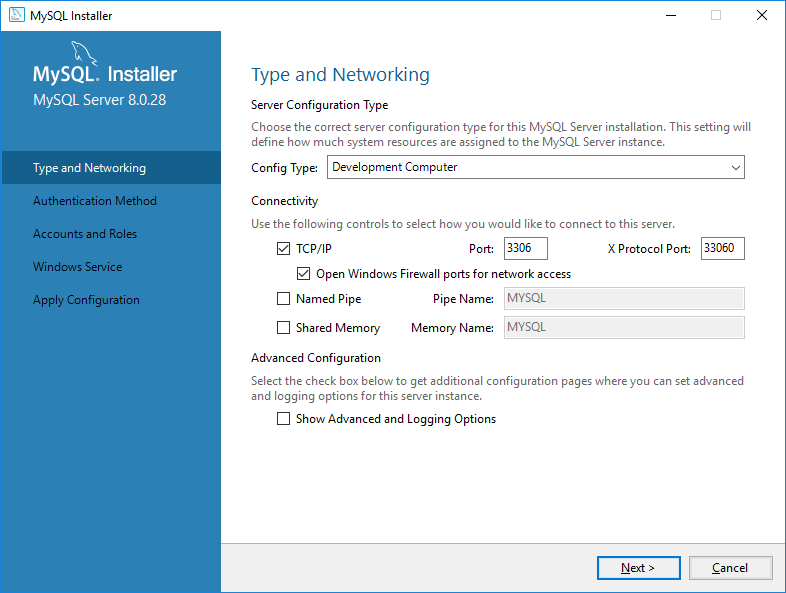
Leave everything default for your development computer.
Press Next
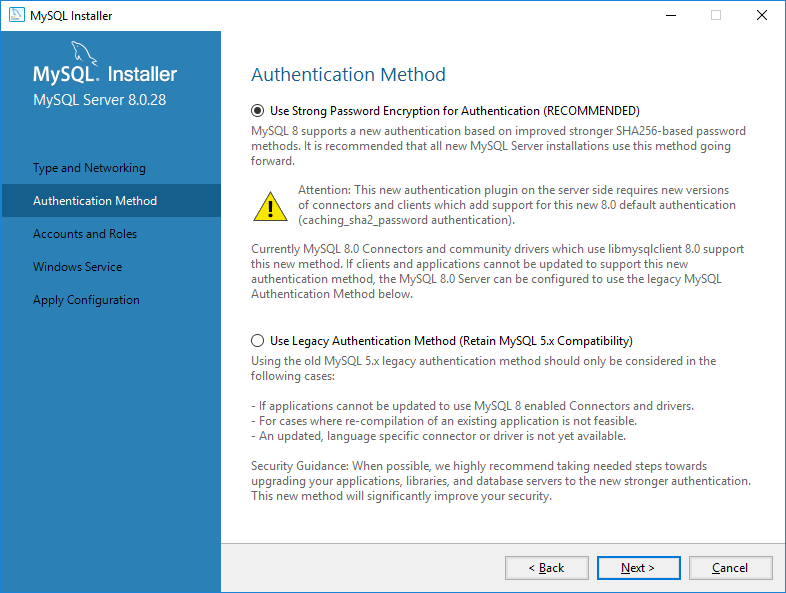
Leave Authentication Method default.
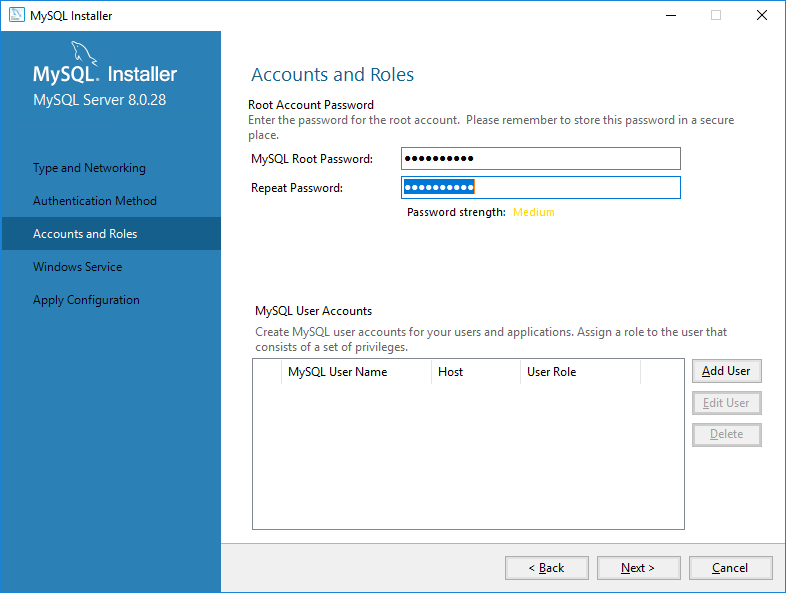
Specify your root password and press Next.
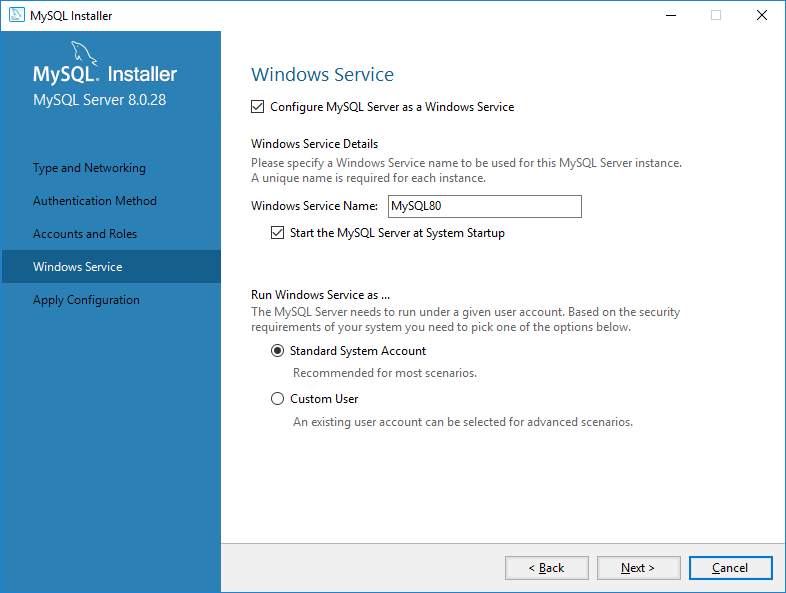
Leave everything default.
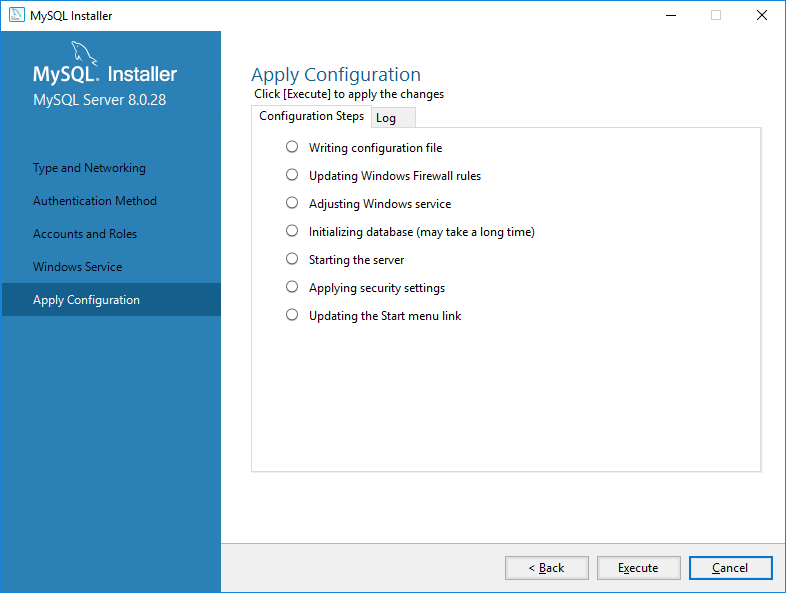
Press Execute.
Press Next.
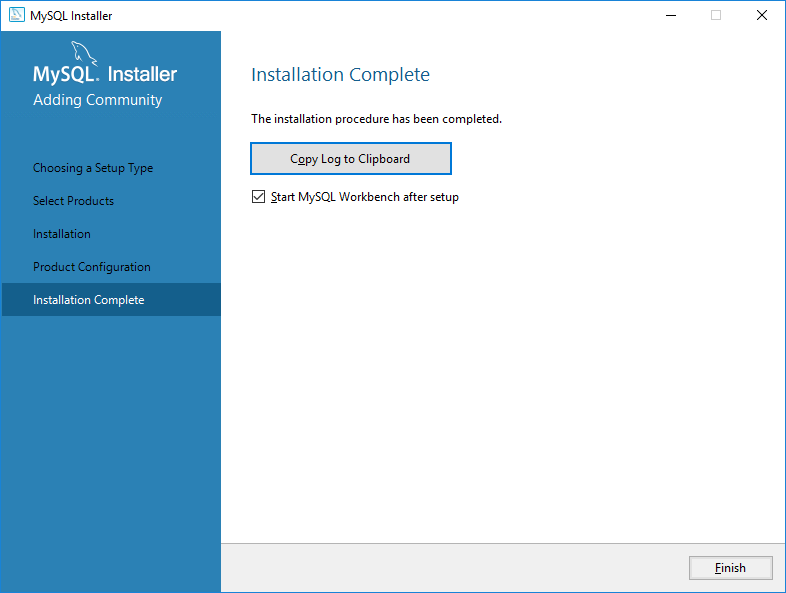
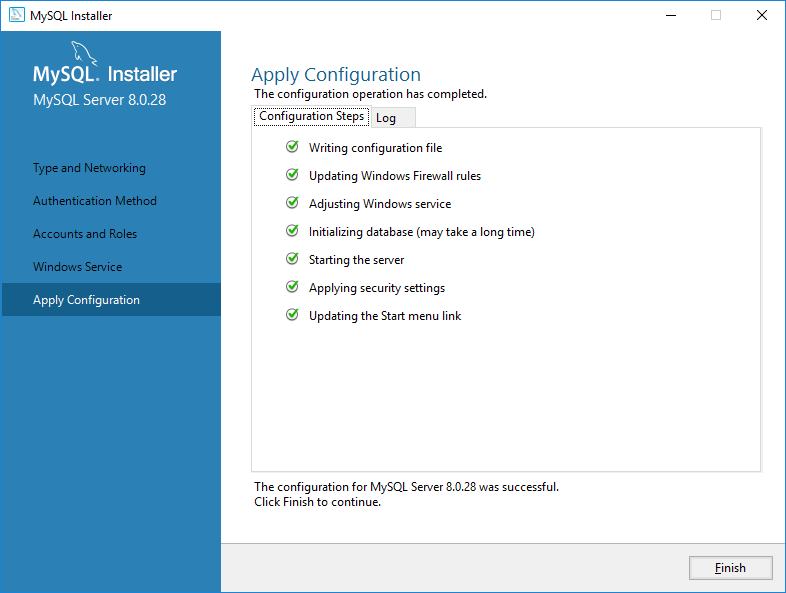
Press Finish.
