
ownCloud logo
Upgrade your ownCloud software with this step by step instruction. This post describes the procedure to upgrade the software. Follow the steps for a save and secure updating of your server. For a more verbose description of this procedure you can also check the upgrade page.
This step by step guide assumes you have a data folder outside your ownCloud installation. Check this in your ~/public_html/owncloud/config/config.php file. The setting ‘datadirectory’ should point to a directory outside your ownCloud installation.
Check your version in the admin panel (admin -> Personal info):

Open a (ssh) shell on your linux box. Then su to the user that runs the ownCloud installation and execute the command (in the installation folder; normally this is on ~/public_html/owncloud):
php occ maintenance:mode --on
When you navigate to the site you will see the message below. It indicates that your installation is in maintenance mode:
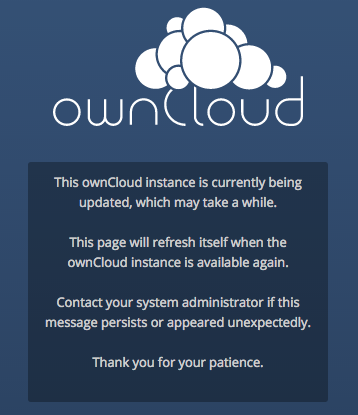
ownCloud maintenance message
Check your version with (execute in installation folder):
php occ --version
Goto the download page and copy the link; then execute the command below in your terminal session
wget https://download.owncloud.org/community/owncloud-8.0.2.tar.bz2
Stop the Apache webserver:
sudo service apache2 stop
Rename your current installation directory and unpack the archive in a new folder outside of your ownCloud directory with the command (a subdirectory ownCloud will be created by the tar command):
tar xjf owncloud-latest.tar.bz2
Copy the old configuration file to your new ownCloud folder:
cp ...../owncloud.old/config/config.php ....../owncloud/config
Also copy any apps you have installed in your ownCloud instance!
Now start the actual upgrade by executing the command below (again execute this in the installation folder):
php occ upgrade
If everything went fine you should see something like this:
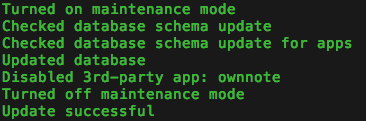
As you can see maintenance mode is automatically turned off and your server is ready to serve files again after you have re-started the Apache webserver:
sudo service apache2 start
Navigate to your site and check that things are still working as expected. In some cases you have to press the update button in your browser that appears when navigating to the site. If everything is working fine don’t forget to remove the old installation files and the archive you downloaded.
Remember: this step by step guide assumes you have a data folder outside your ownCloud installation. Check this in your ~/public_html/owncloud/config/config.php. The setting ‘datadirectory’ should point to a directory outside your ownCloud installation.
Happy ownClouding!
