Step 1 in creating a DotNetNuke skin is navigating to the skin folder. I have installed DotNetNuke in a folder called DNN. The location for the skin folder is: “d:InetpubwwwrootdnnPortals_defaultSkins”.
Create a new directory in this folder, I created a directory called “Blog”. Within this new folder create a file called index.html with the following contents:
A valid DotNetNuke skin file contains a least 1 content pane and it should be called ContentPane (capitalization is not important).
Now that we have our skin in the right location, we need to open up DotNetNuke and get it to convert the skin to the ASCX format and assign the skin to a page. Login to DotNetNuke with a super user account (also known as a host account). Because skins can contain code that is executable on the server, only Super Users have access the ability to upload new skins or to parse html templates. This prevents lower privileged accounts from installing executable code onto the server without a super users knowledge.
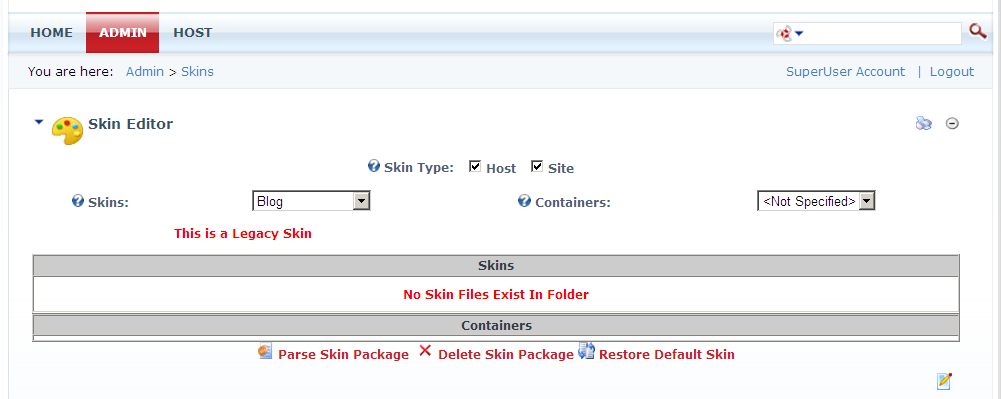
Once logged in with a super user account, go to the skins page which is located under the Admin menu.
 On the Skins page select the Blog (or whatever name you gave your skin) entry from the dropdown list. Select the “Parse Skin Package” link as shown in the image above. If you have followed all the steps correctly, then you should see a bunch of lines text that outline all of the parsing steps. The individual lines are not important, unless you see an error message which would appear in red. If everything went ok, then you will also find a new file in your Dreamy skin folder called Index.ascx.
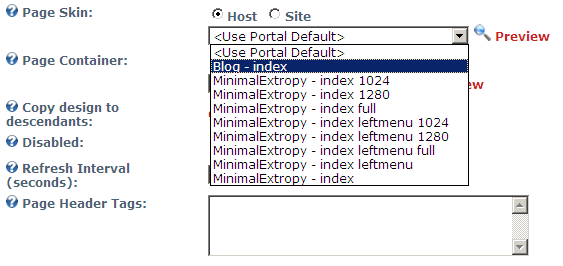
 Now that we have a parsed skin, lets apply it to a webpage and see what it looks like. While logged in as an administrator or super user, create a new page on your website. I called mine BlogPage. Edit the page settings for your new page and go to the Advanced Settings section. Expand the Advanced Settings section and scroll down until you find “Page Skin” setting. Select the Host radio button and select “Blog – Index” from the list of available skins.
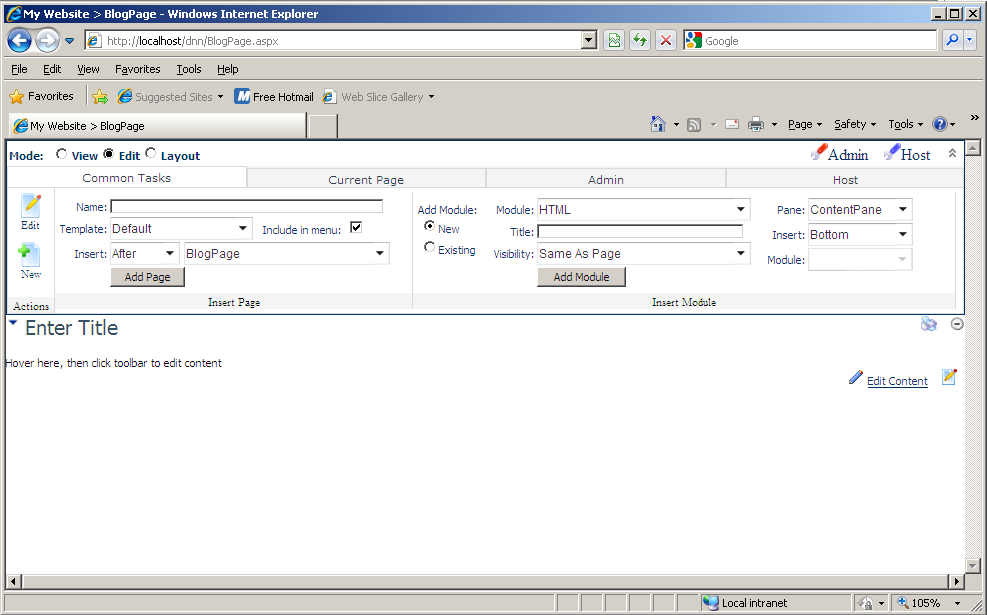
Now when you press update and view the BlogPage you should see something like this:

